
Thornhill Broome Beach, Malibu, California
A couple weeks ago, I went camping at Thornhill Broome Beach in Malibu, California with my sister and our dog, Khola. It was nostalgic since we camped here with Khola when she was a puppy, over a decade ago. The light was provocative and made for some moody scenes…
A couple weeks ago, I went camping at Thornhill Broome Beach in Malibu, California with my sister and our dog, Khola. It was nostalgic since we camped here with Khola when she was a puppy, over a decade ago. The light was provocative and made for some moody scenes.
All the pictures were created with a Canon R5 Mark II and a 15-35mm or 70-200mm lens. The pictures were edited in Adobe Lightroom Classic.


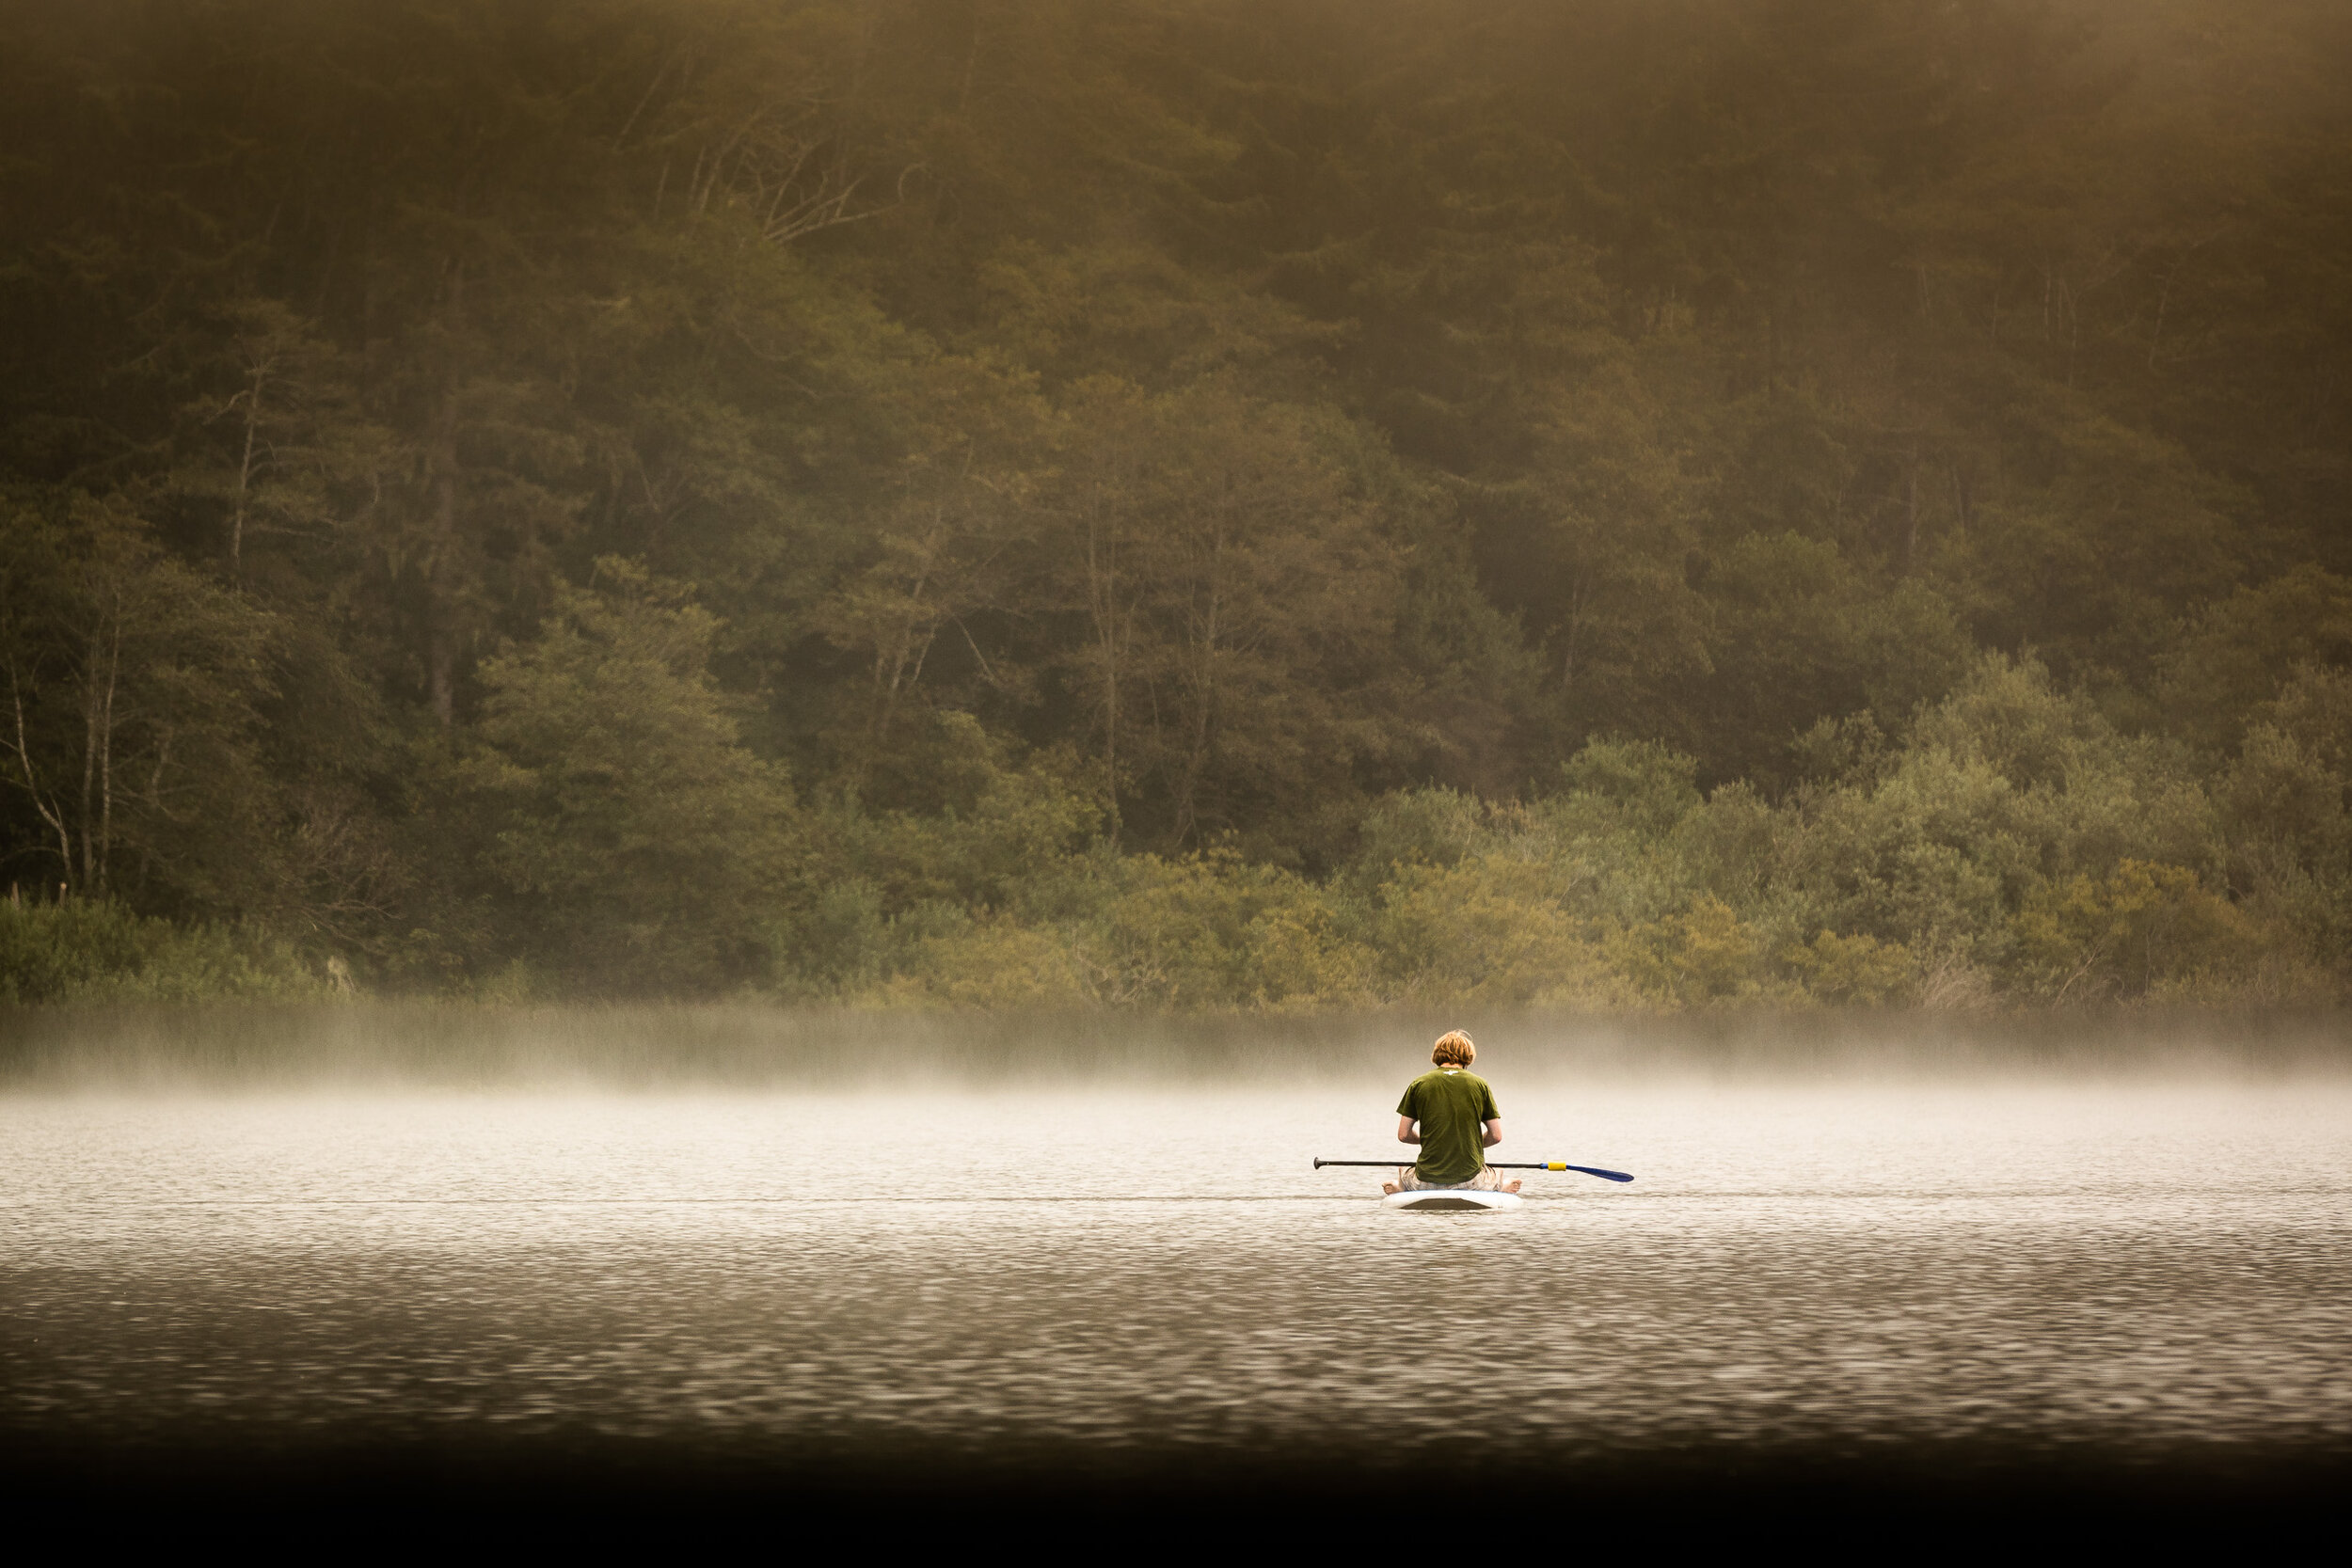
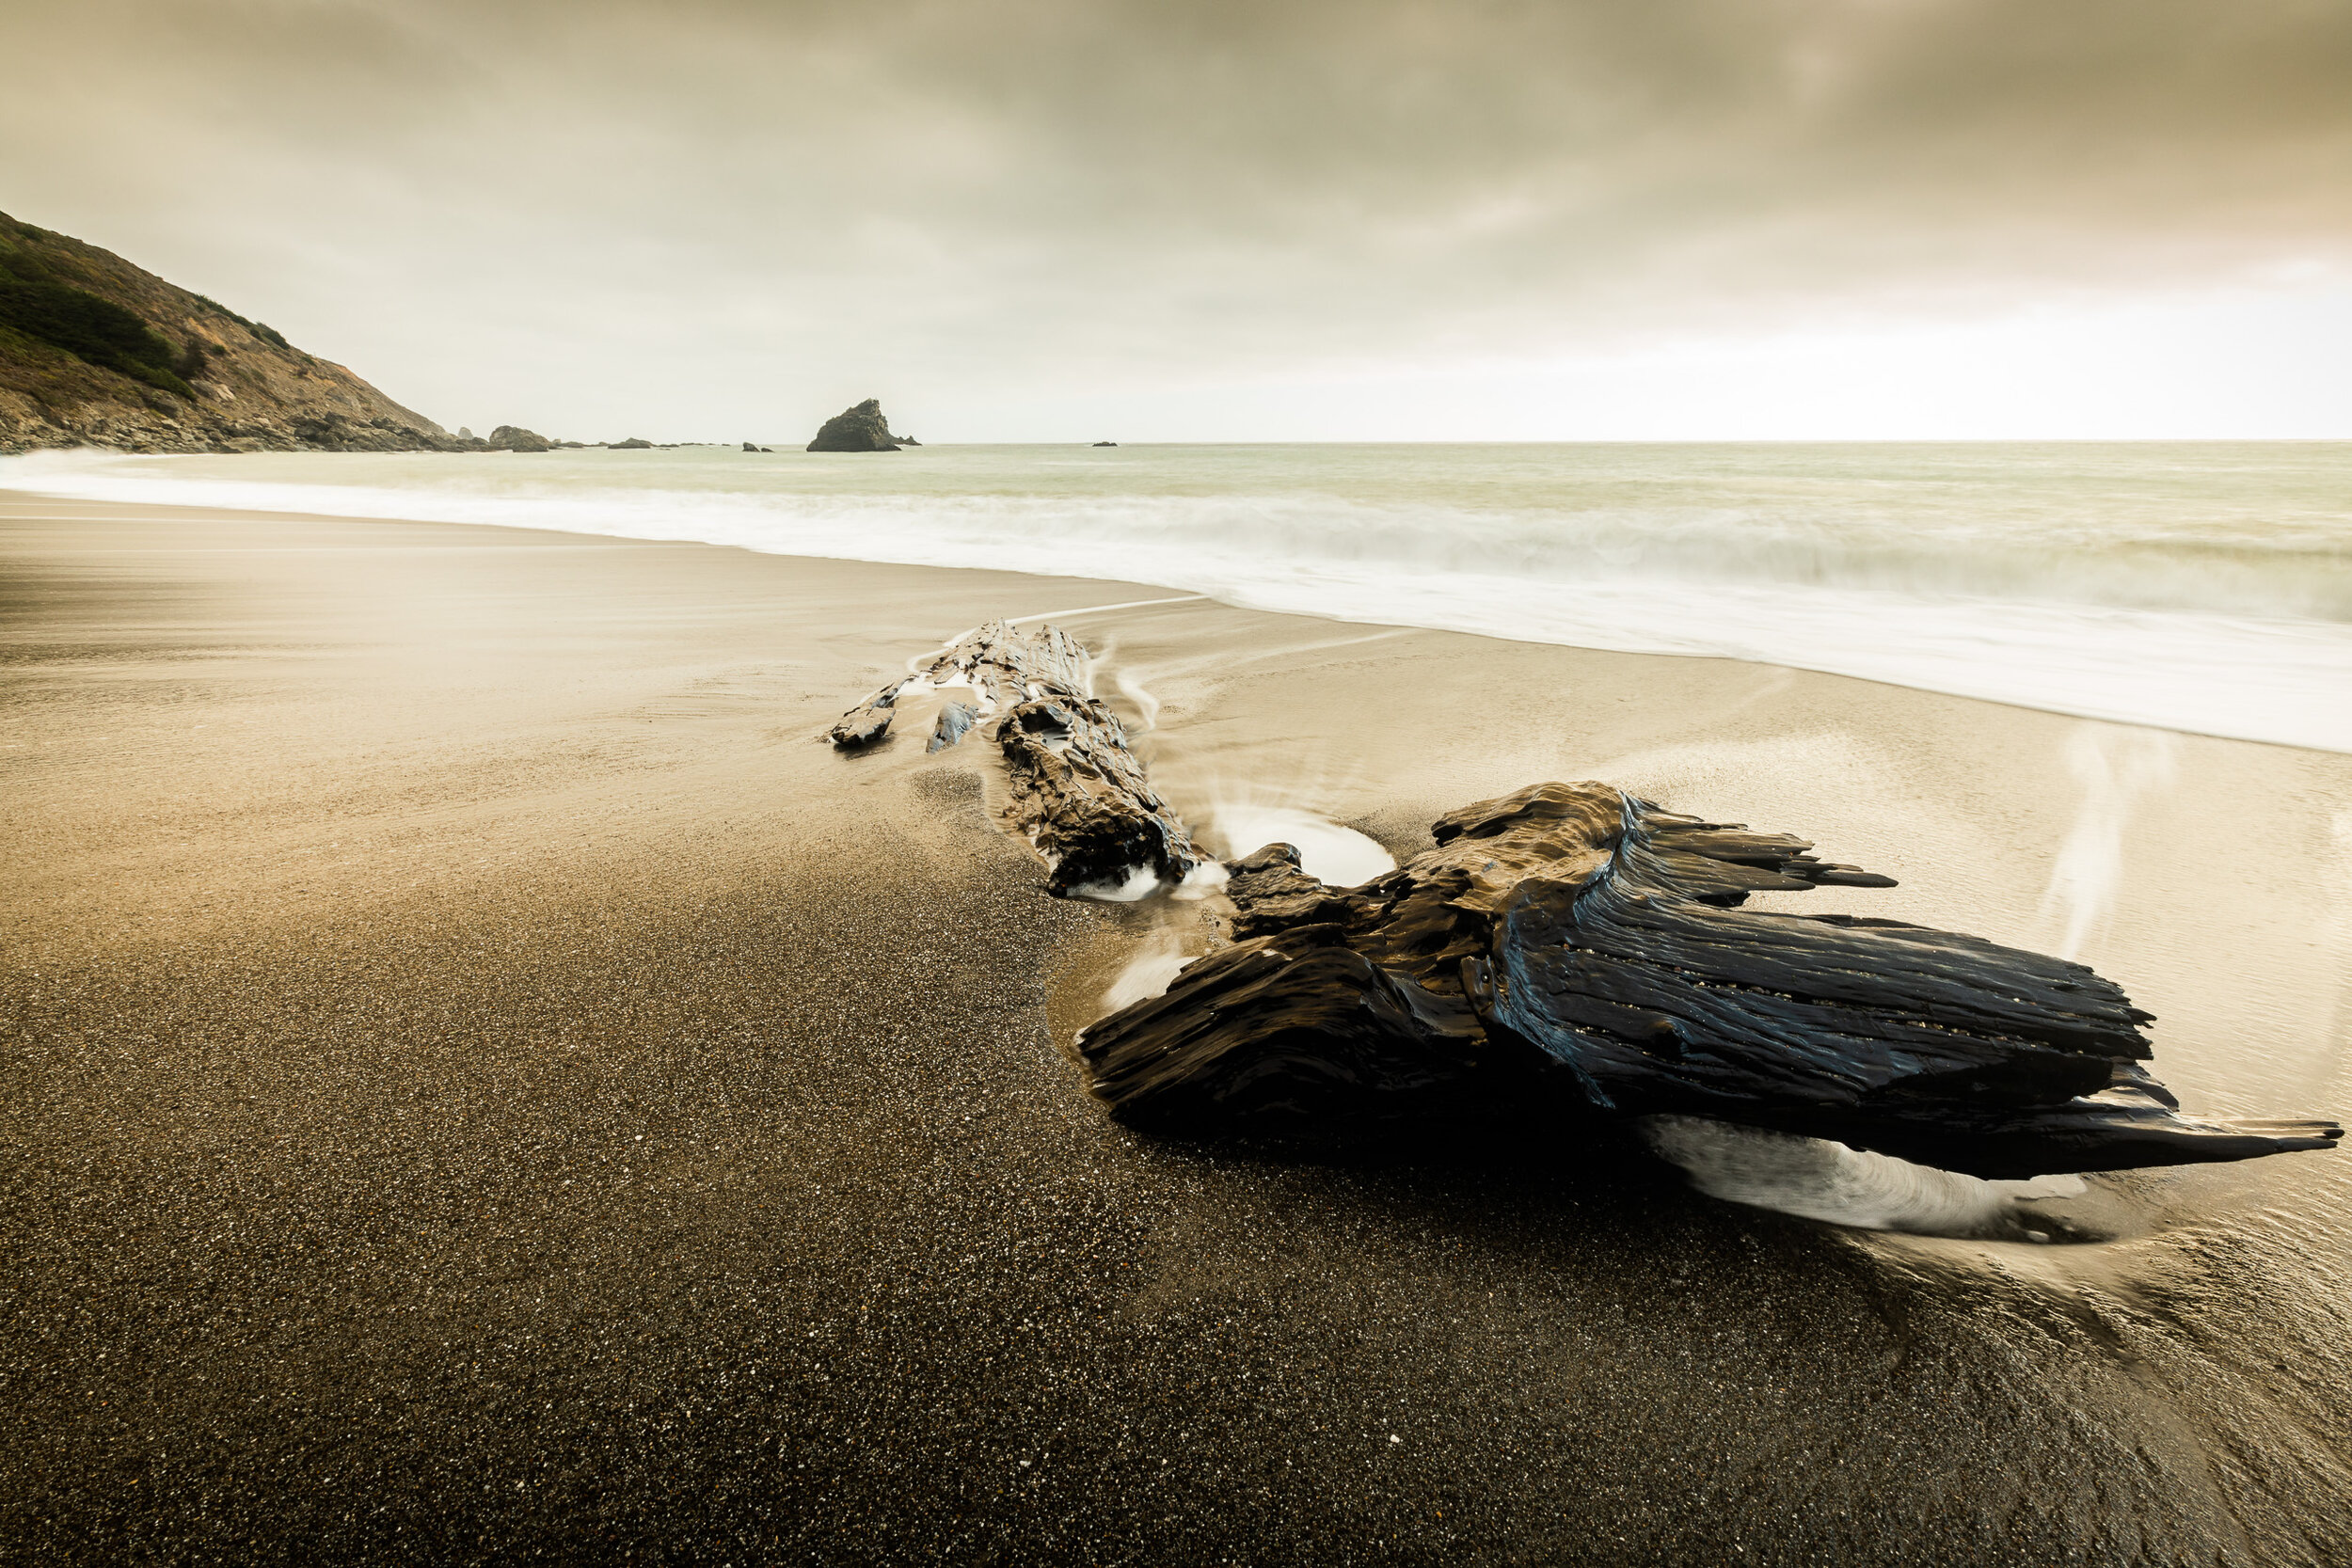
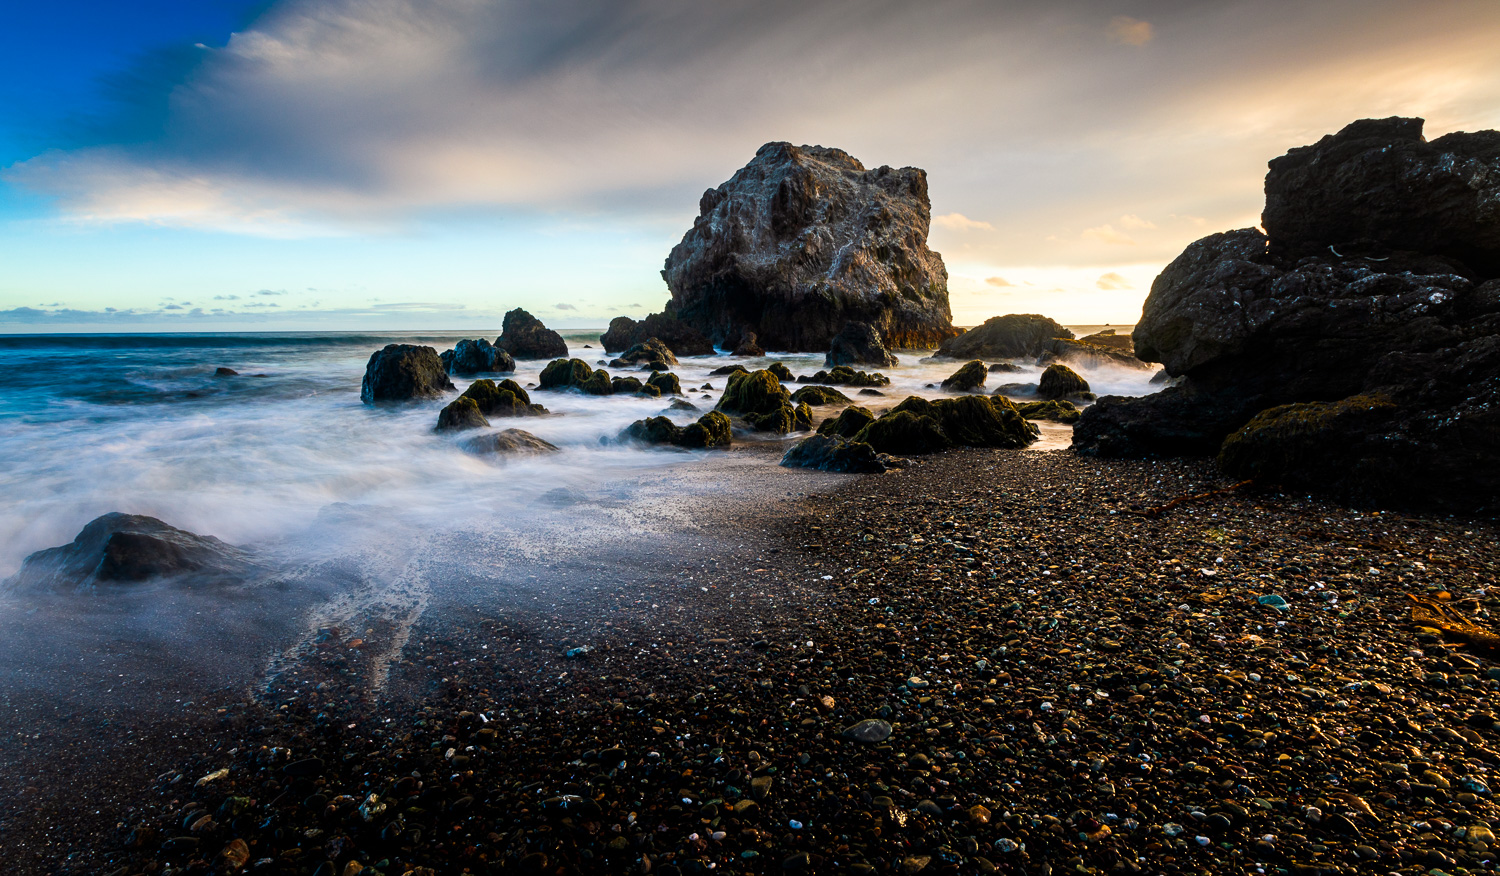
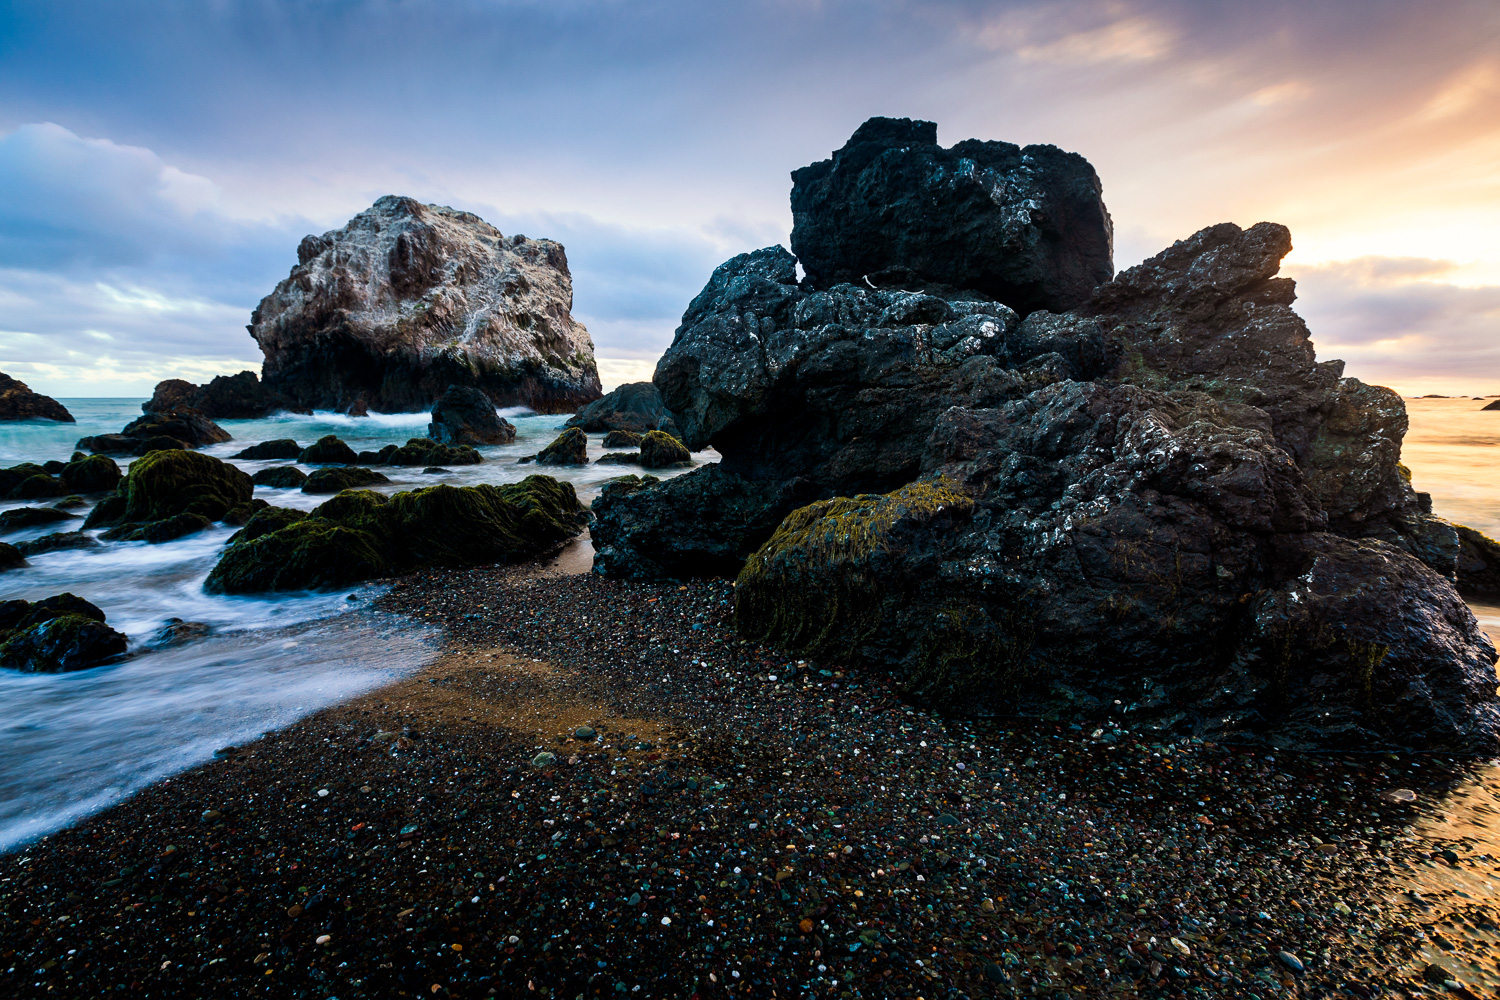
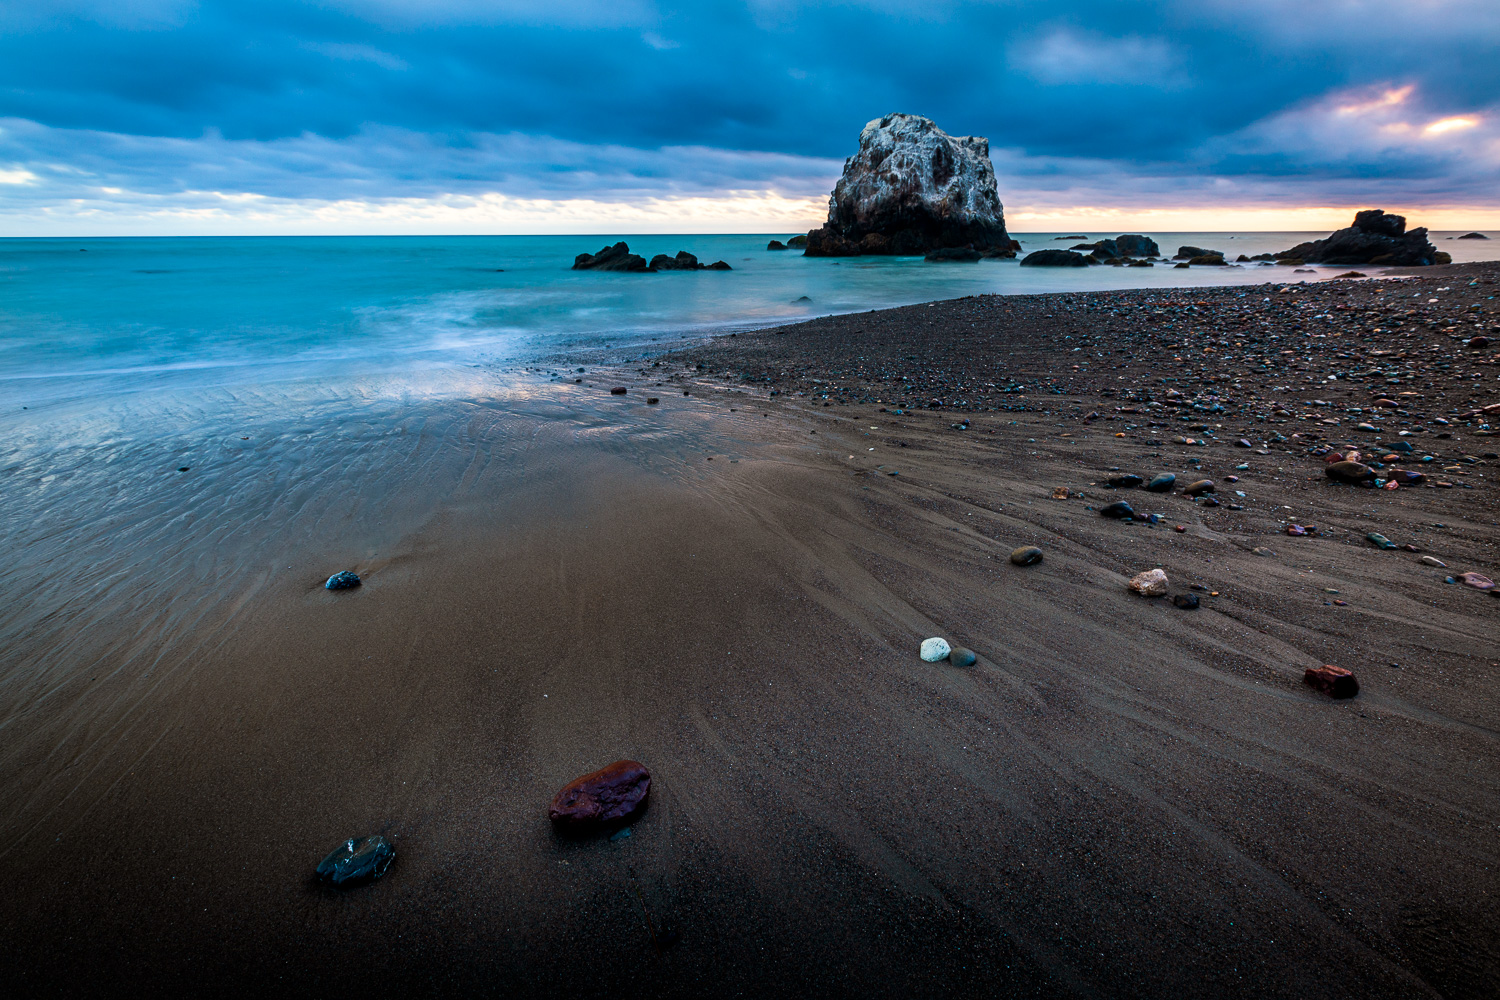
Lakeside, Oregon & California Coast
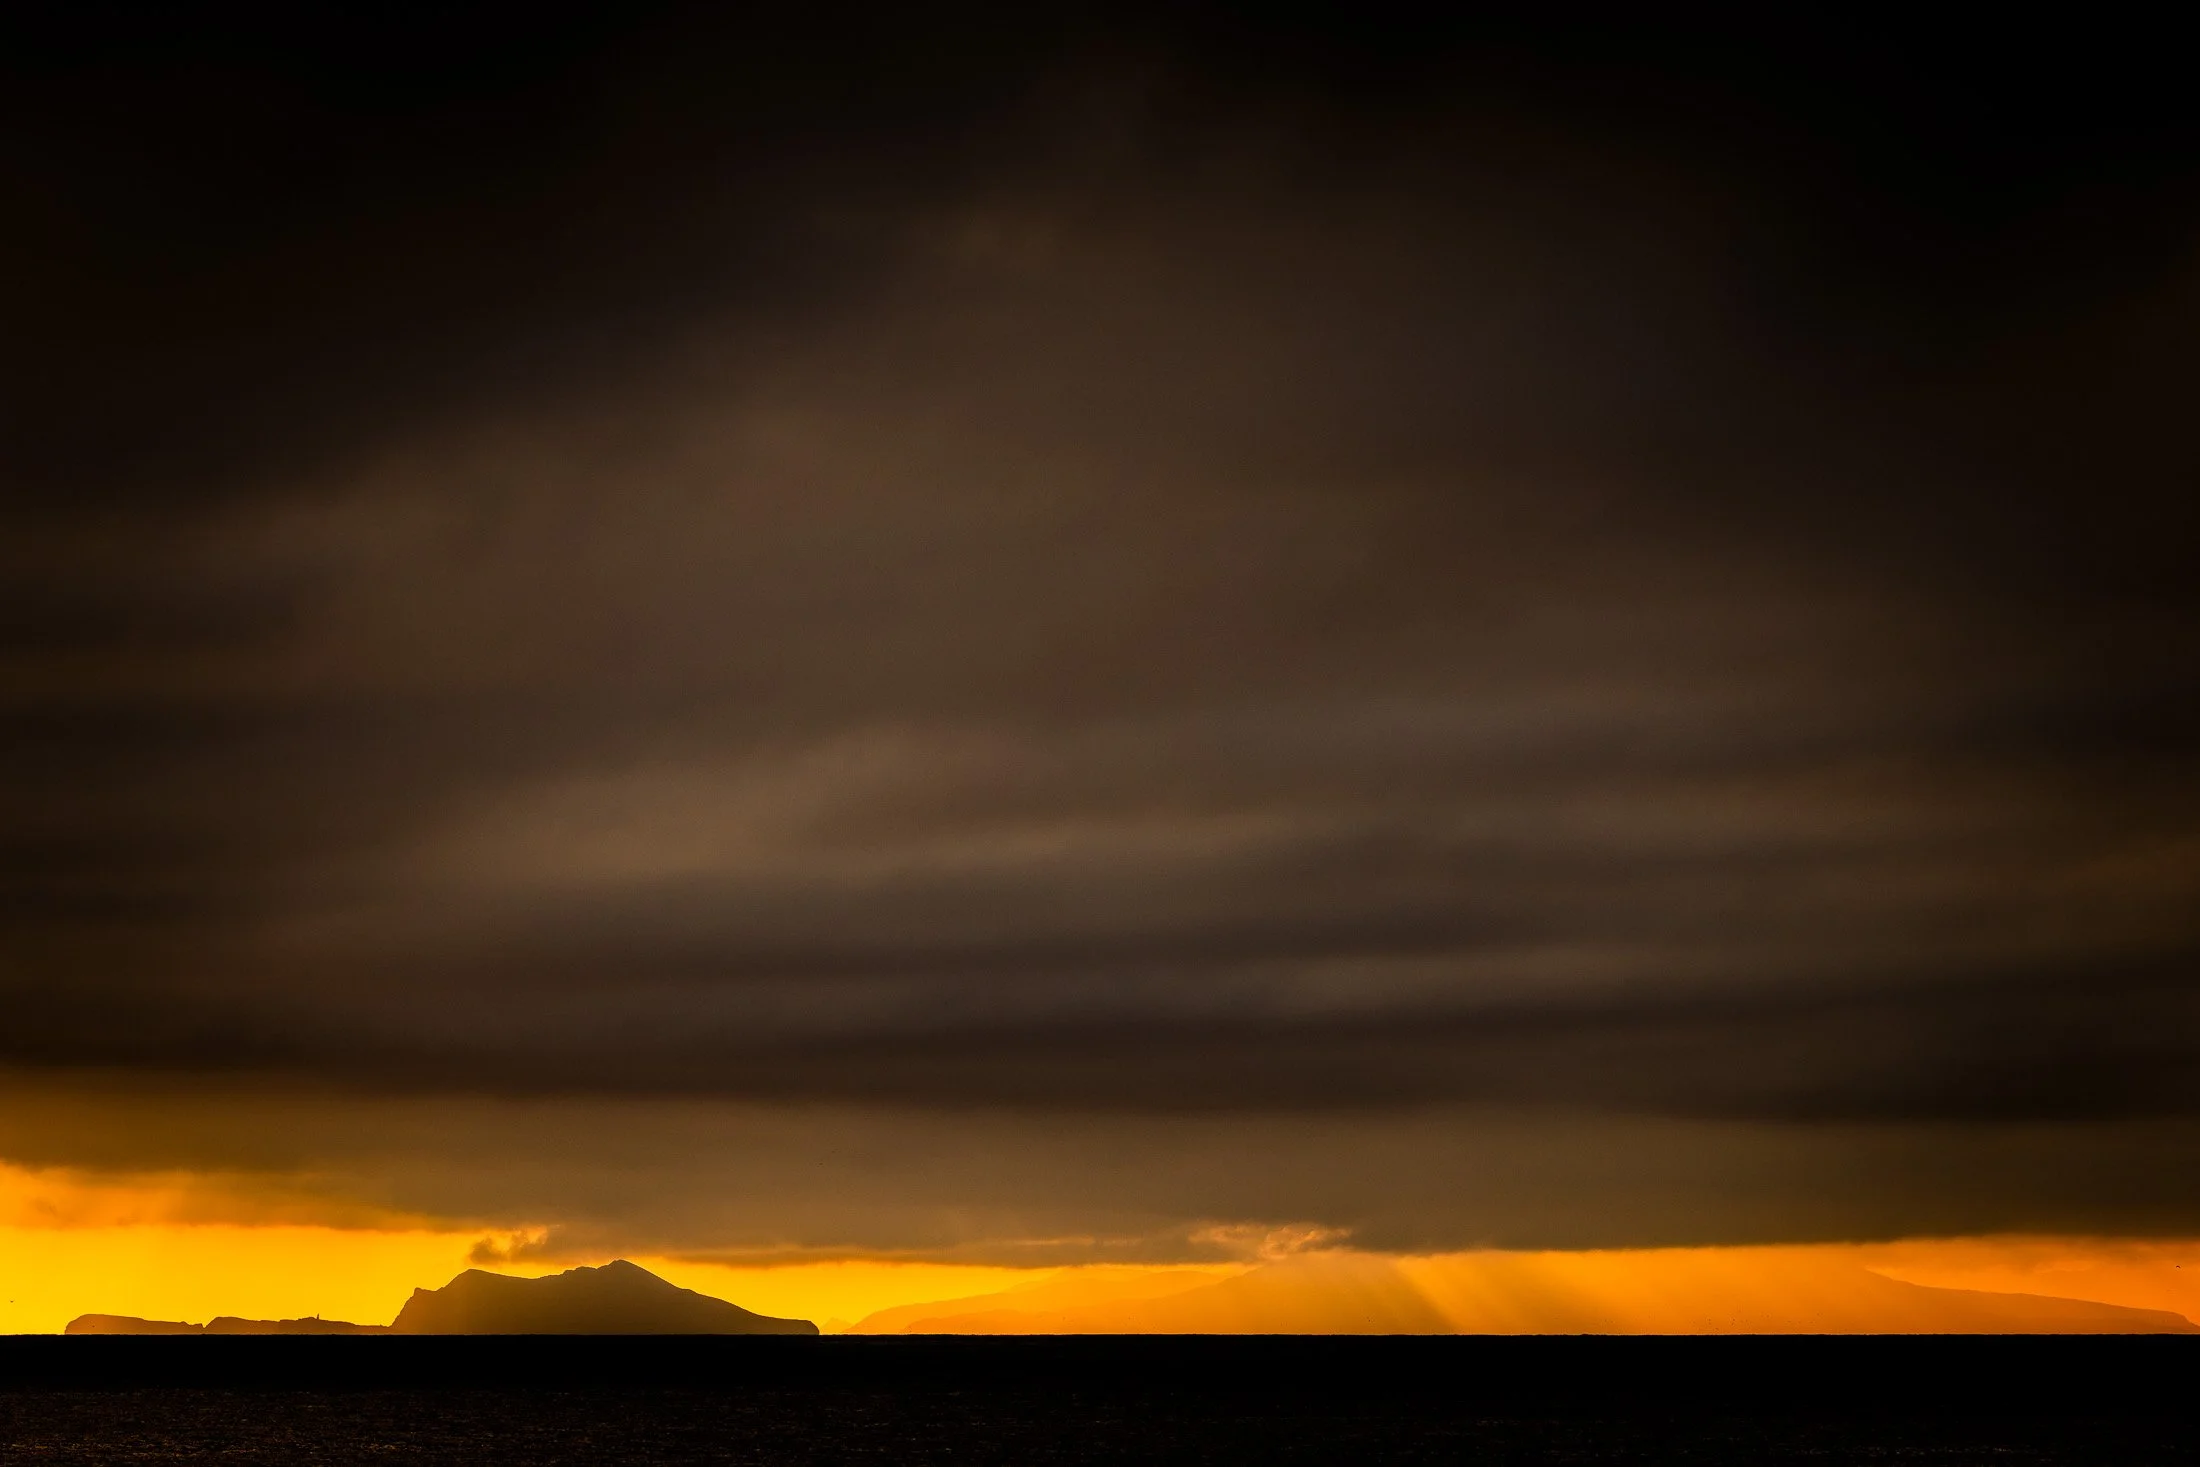
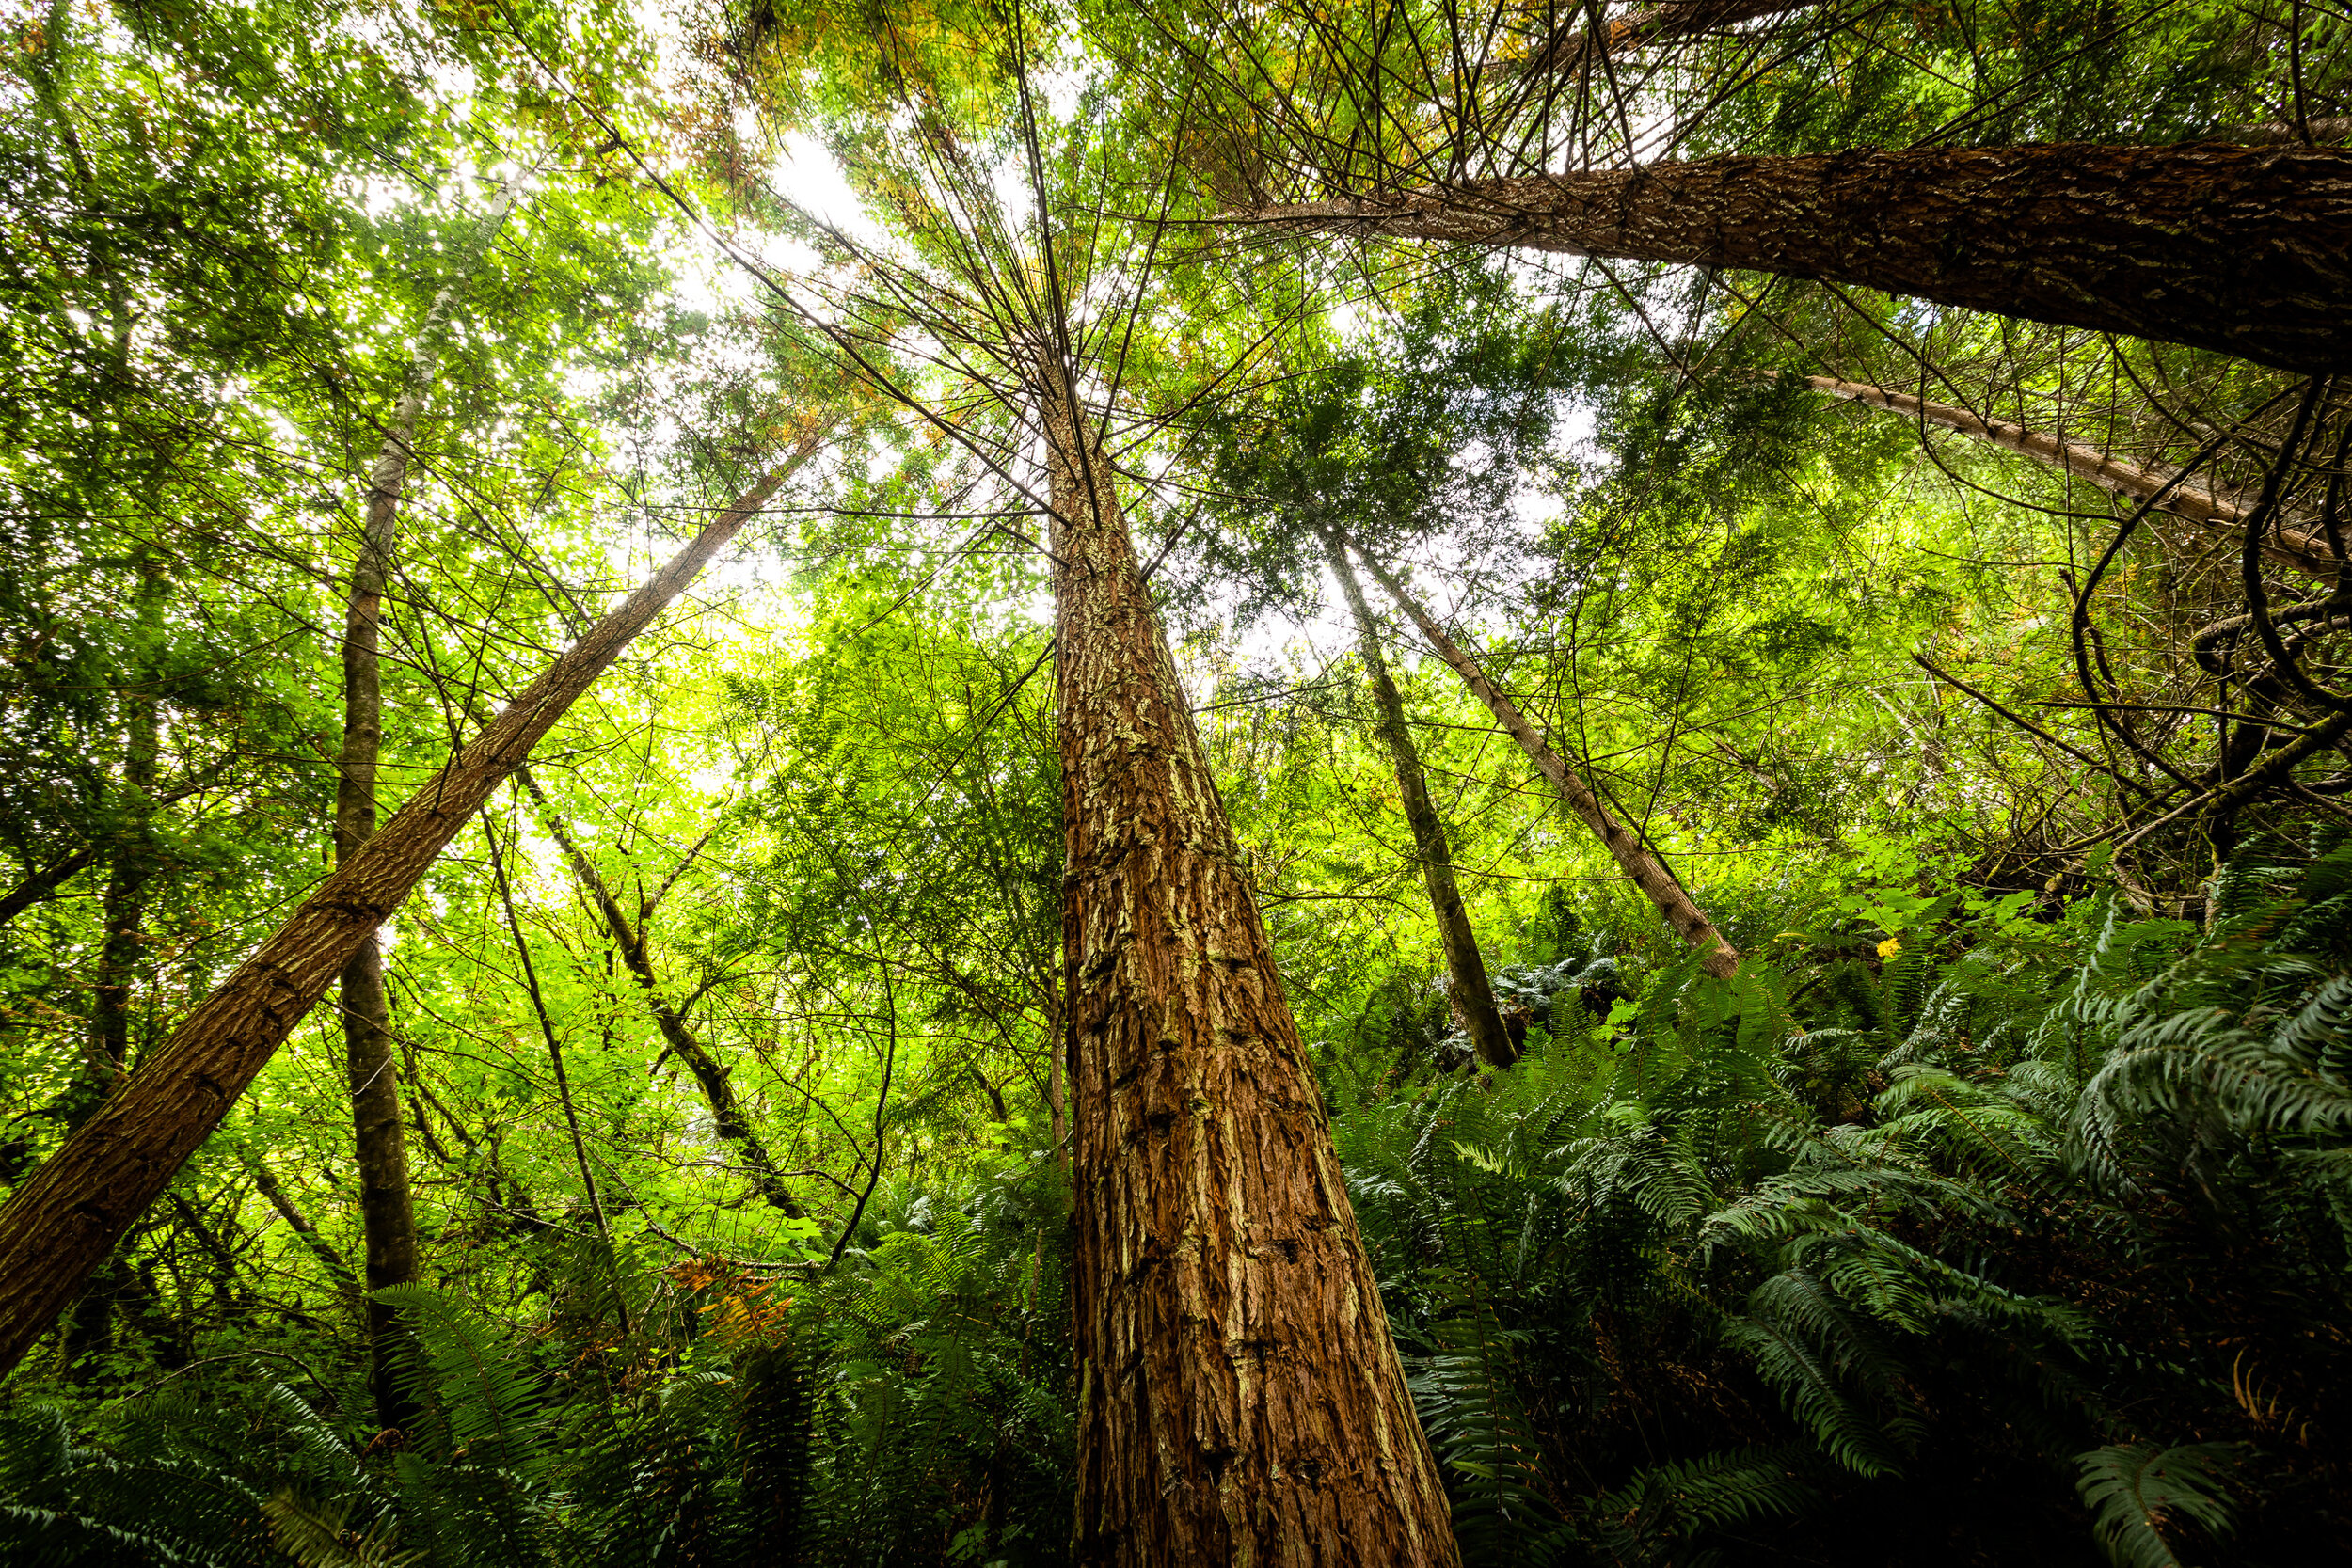
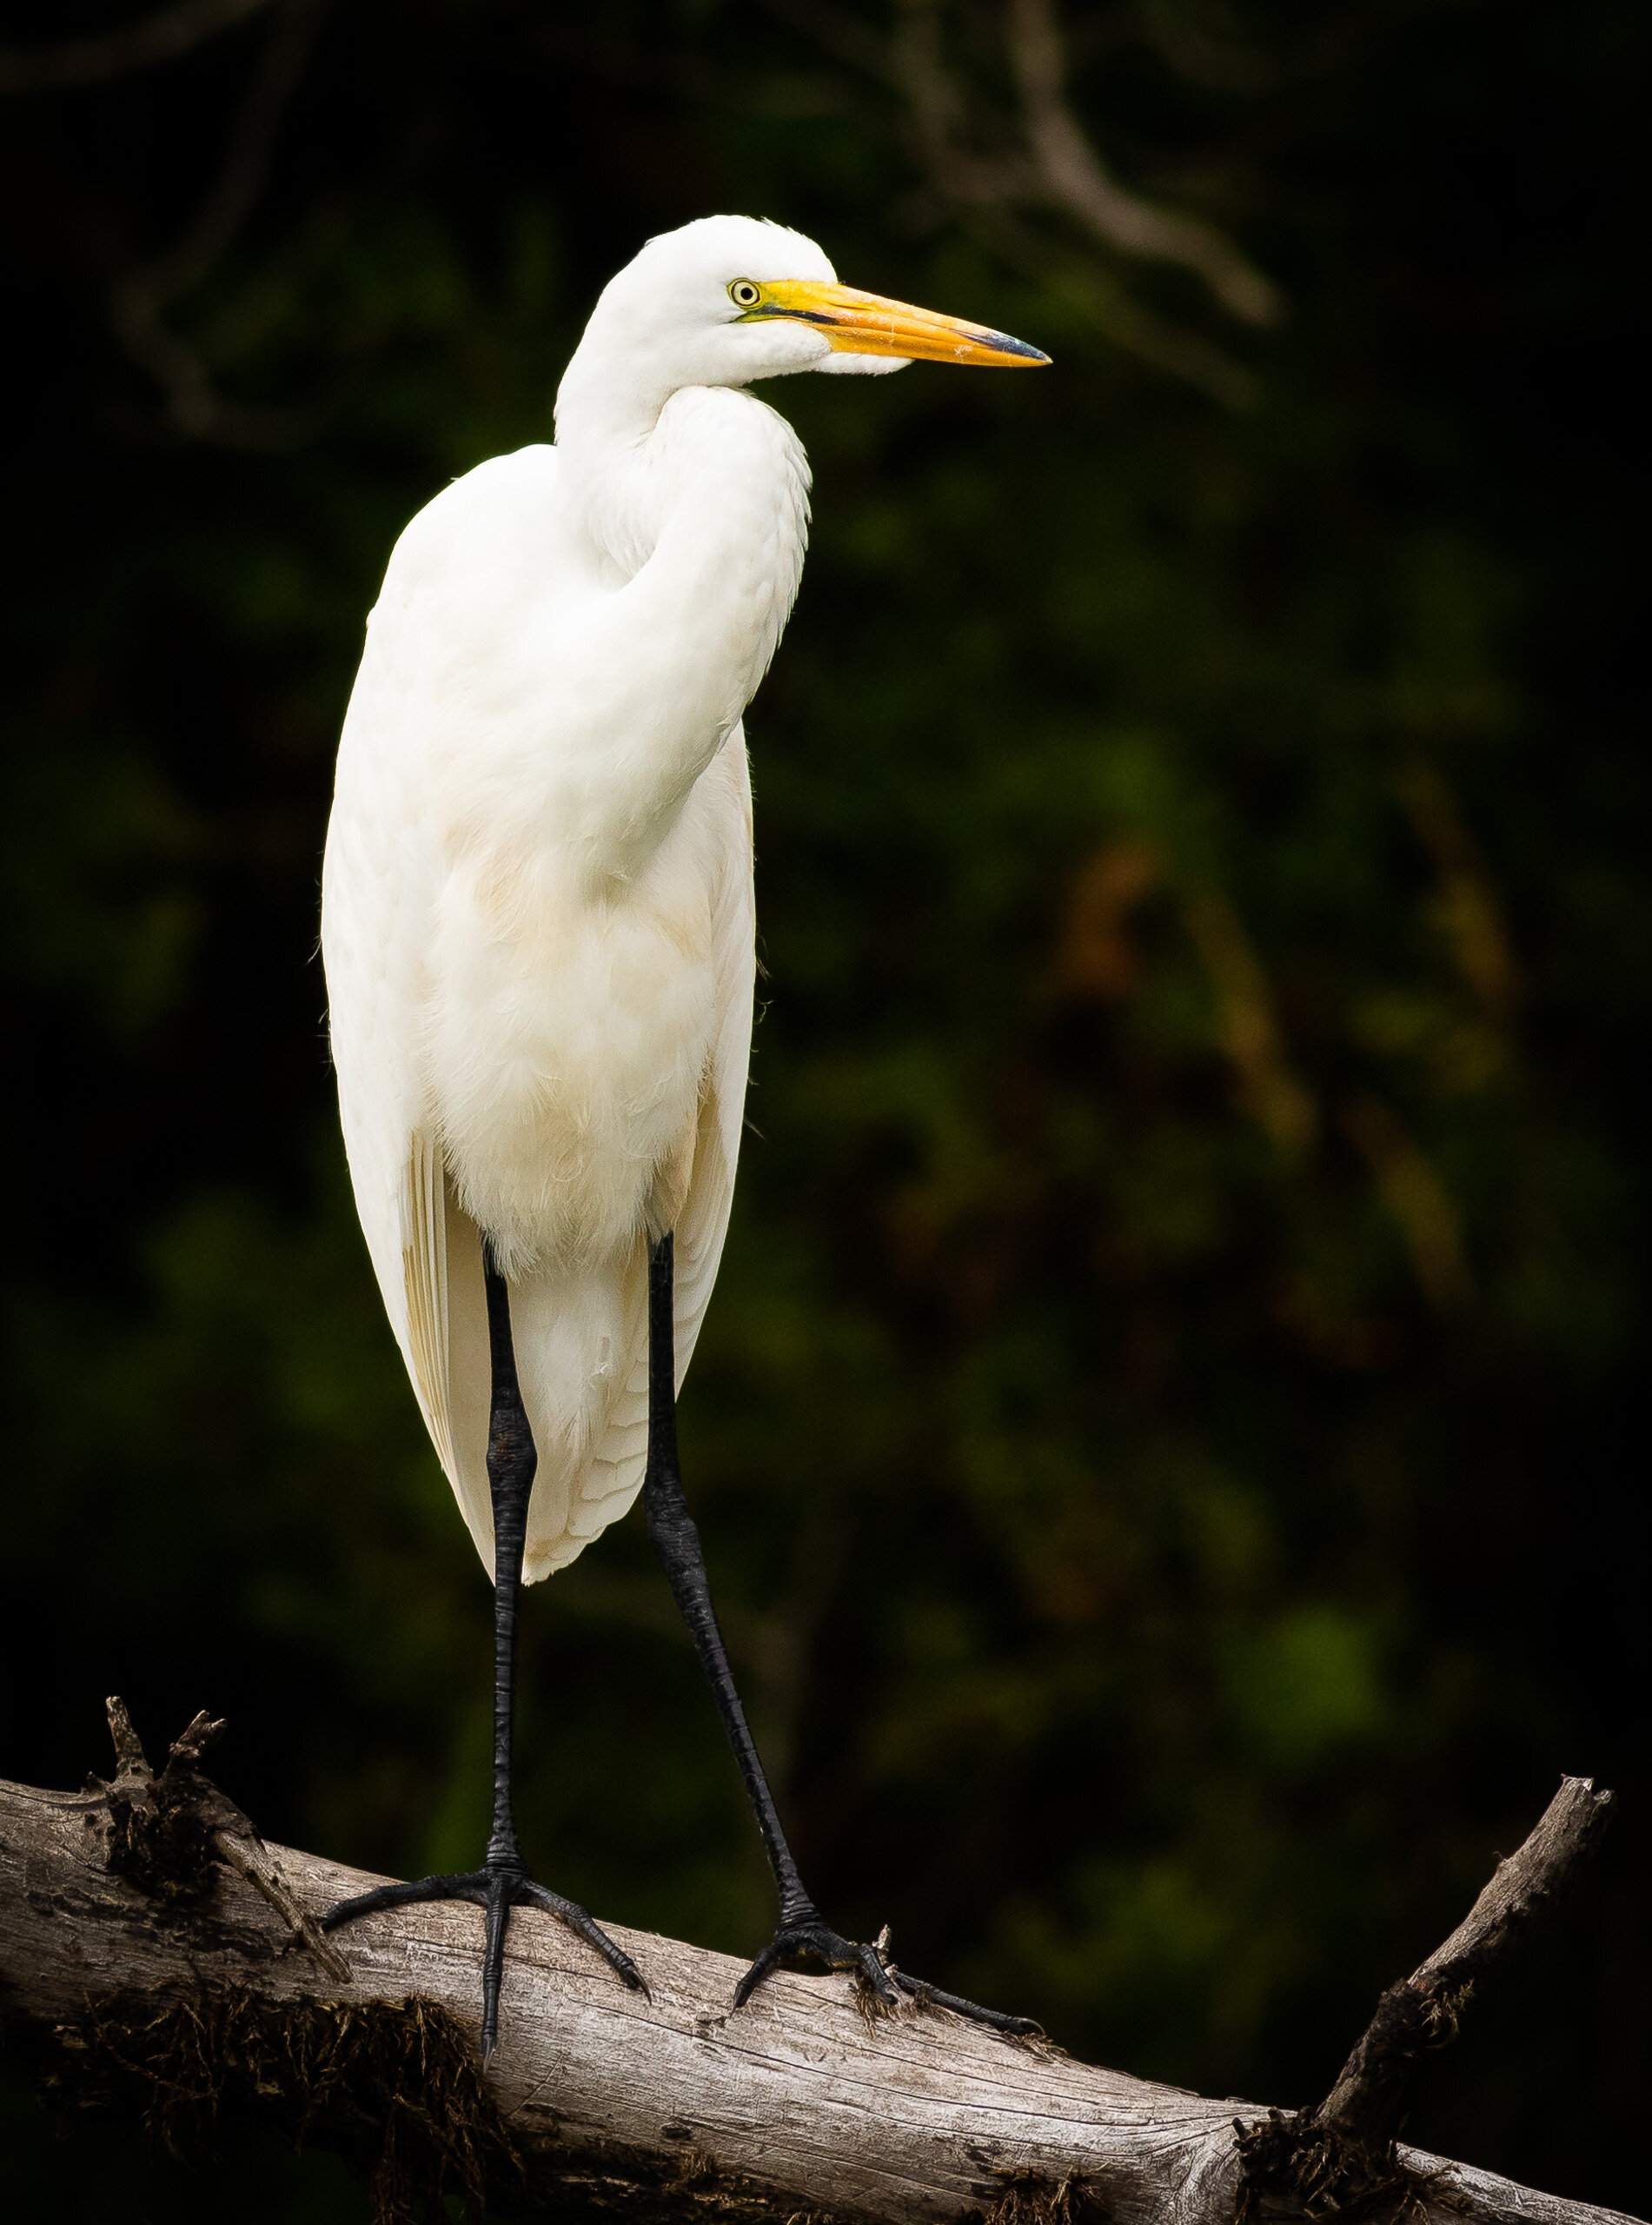
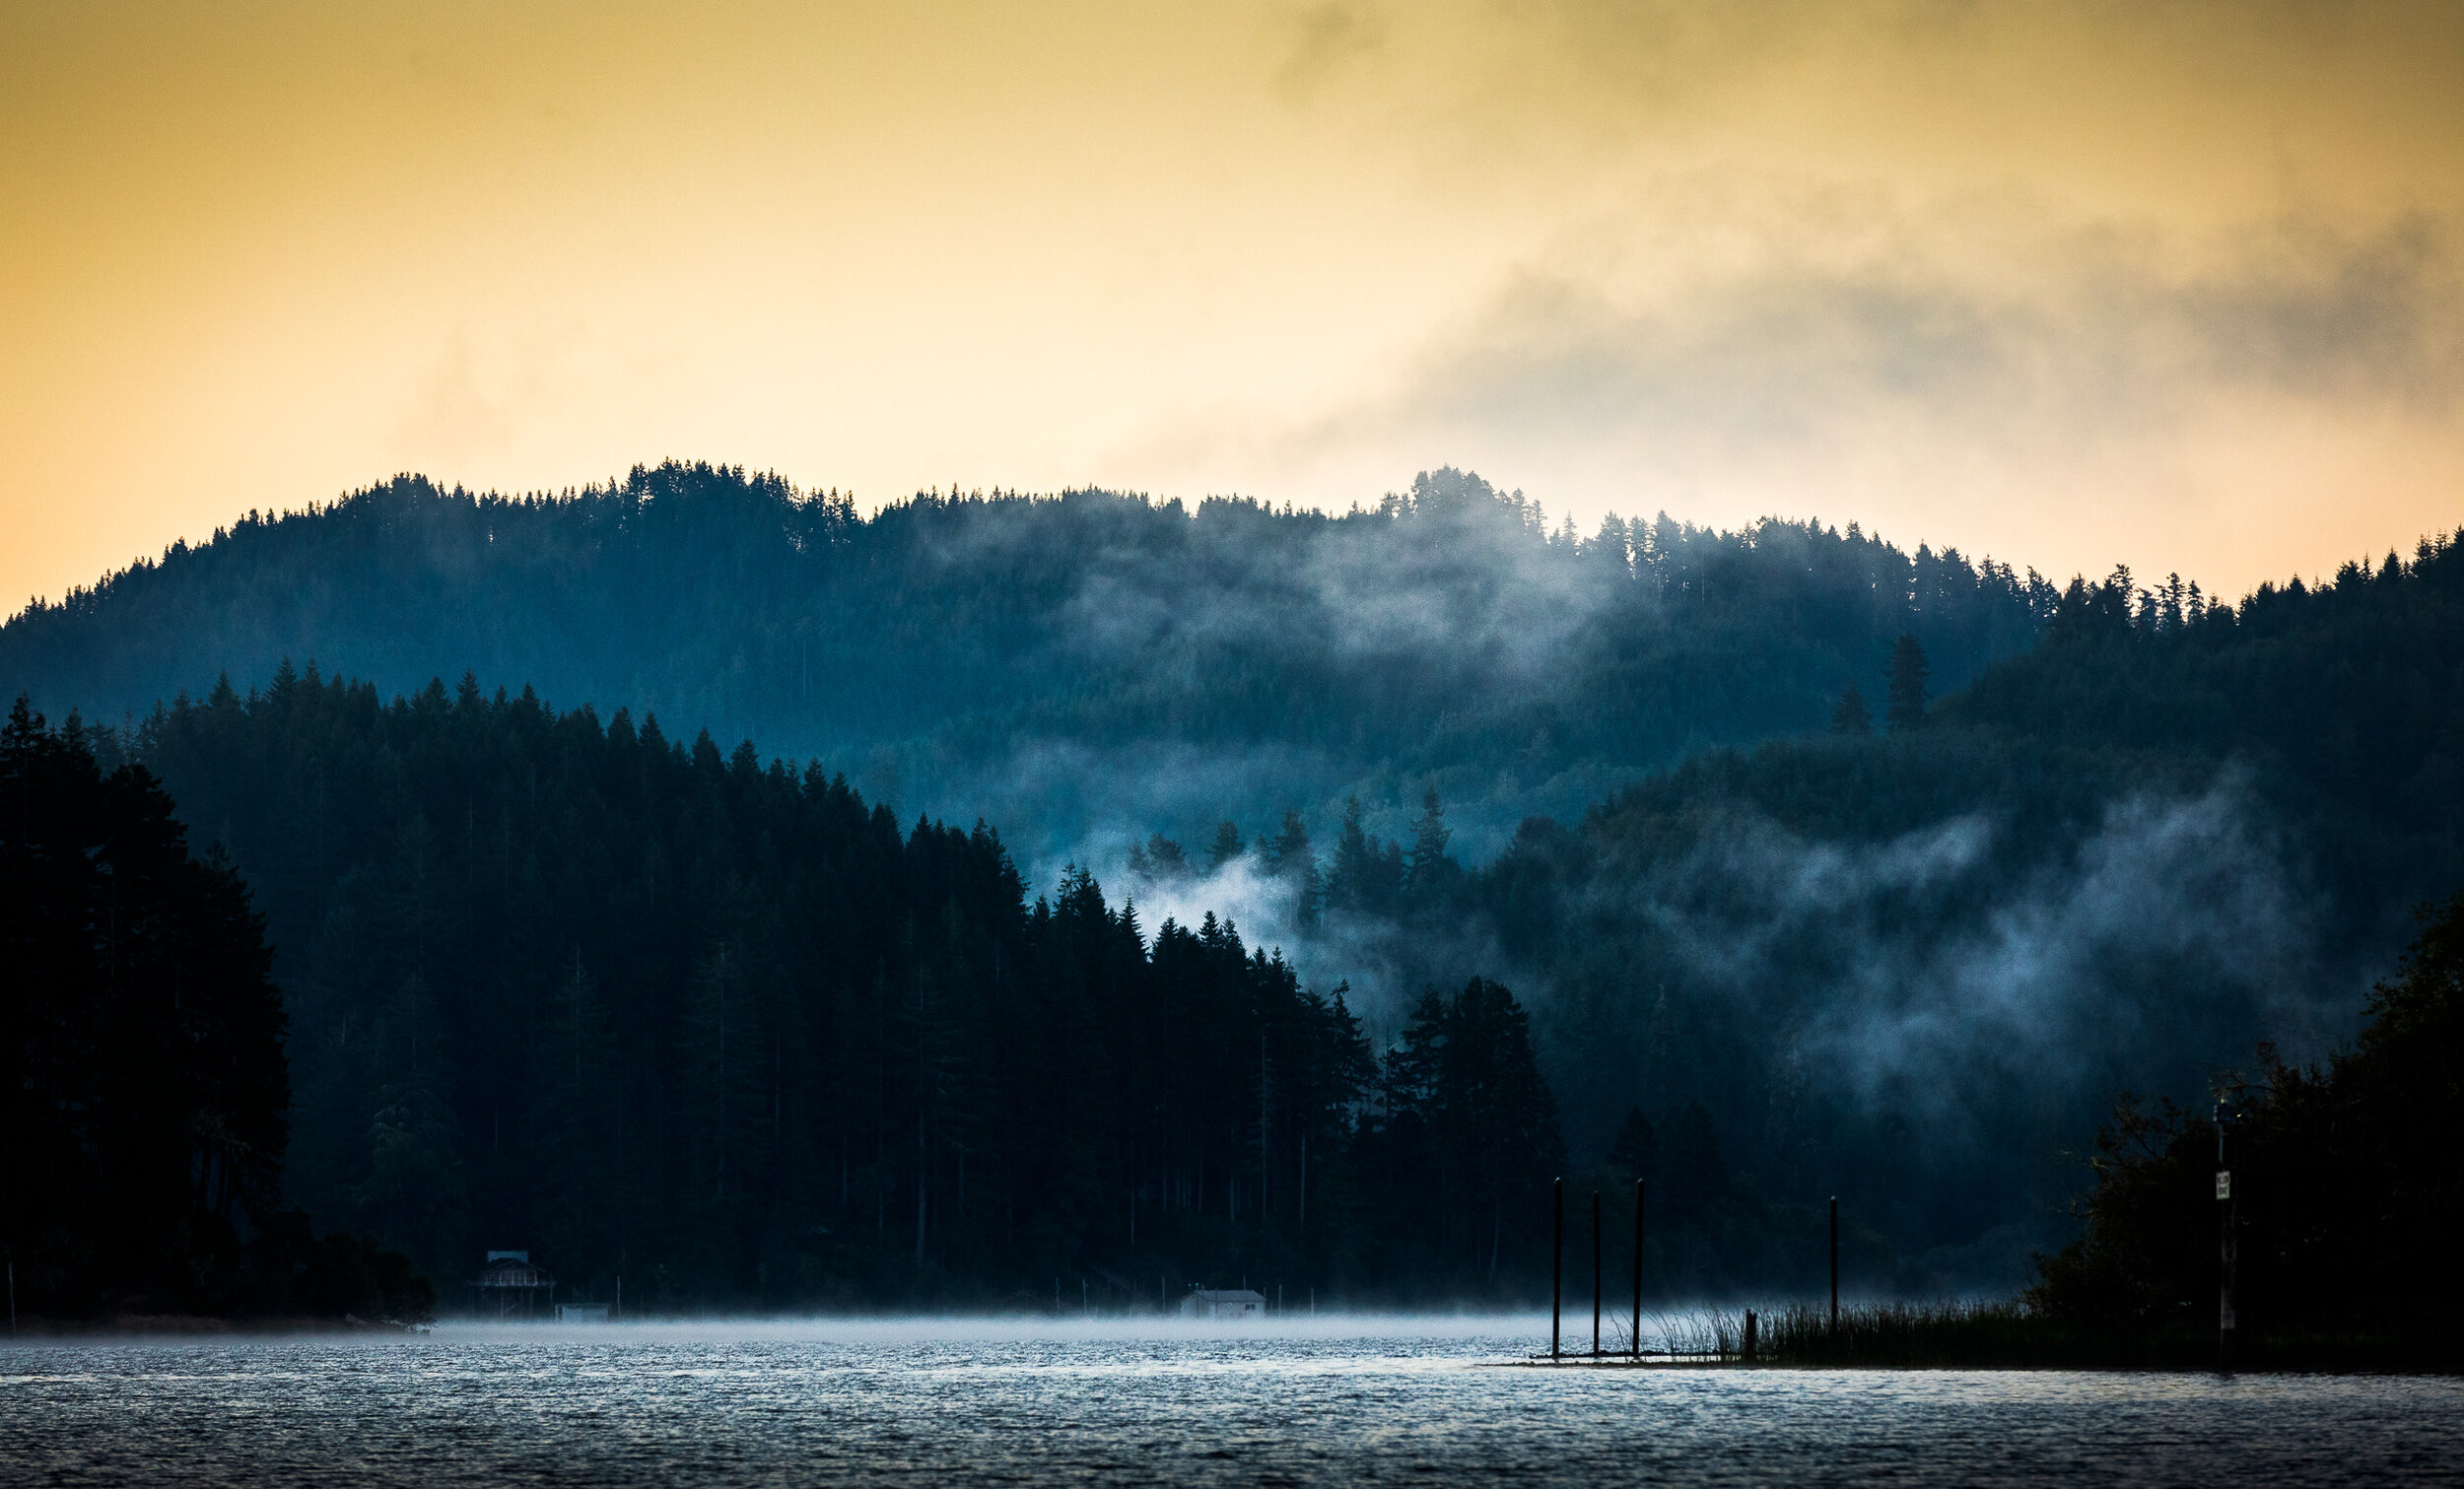
At the end of August, my sister and I took a road trip to spend a week in Lakeside, Oregon with a family friend. We decided to drive home along the PCH, camping along the Navarro River in Northern California for one night and camping south of Big Sur, California for the next. I absolutely loved the scenery along the way as we traversed down the Pacific Coast.
At the end of August, my sister and I took a road trip to spend a week in Lakeside, Oregon with a family friend. We decided to drive home along the PCH, camping along the Navarro River in Northern California for one night and camping south of Big Sur, California for the next. I absolutely loved the scenery along the way, as we traversed down the Pacific Coast.
I quickly started editing the photos and finally finished compiling some of my favorites. The images were all created with a Canon 5D Mark IV and were predominantly edited with Adobe Lightroom.
The pictures are presented chronologically, which I rarely do, but it felt right for this group of images. I hope they provide you with even a small taste of the experience of exploring the Pacific Coast.


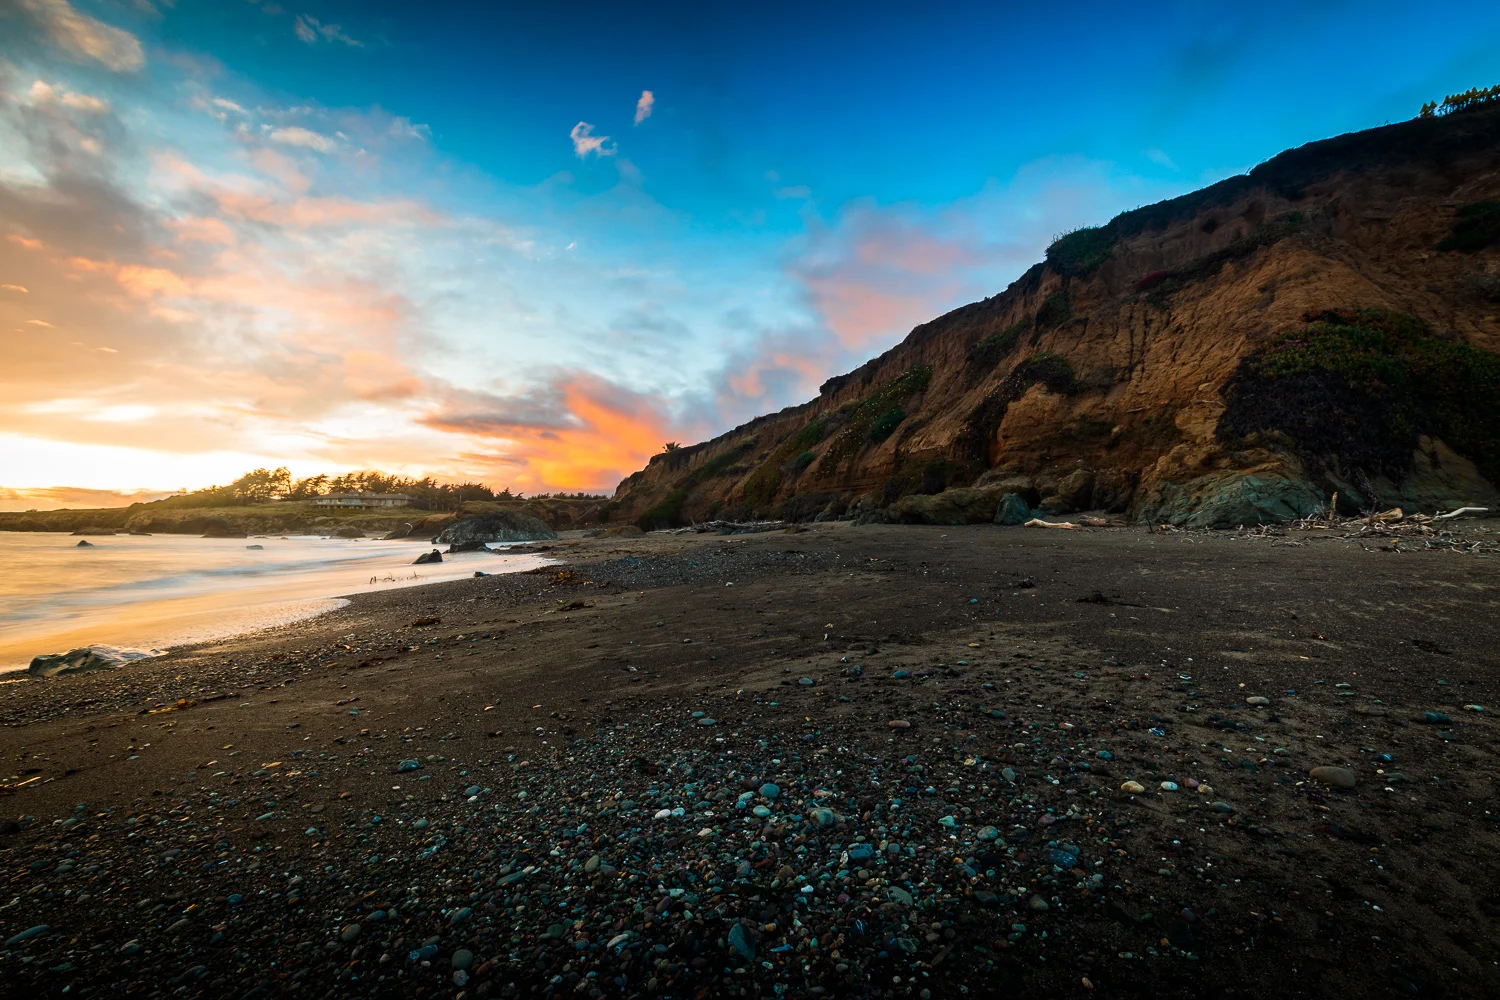
San Simeon, California
Last Sunday I drove up to San Simeon, California for sunset and stopped at a pullout along the PCH a little south of Hearst Castle. I was excited to get a colorful sunset since the last four or five times I’d gone out to photograph had been incredibly overcast.
Last Sunday I drove up to San Simeon, California for sunset and stopped at a pullout along the PCH a little south of Hearst Castle. I was excited to get a colorful sunset since the last four or five times I’d gone out to photograph had been incredibly overcast.
Anyway, here’s a few of my favorite images from the evening. They were all made using a Canon 5D Mark IV and a 16-35mm lens. I used Adobe Lightroom and either Nik Color Efex Pro or OnOne Photo Raw to edit them.


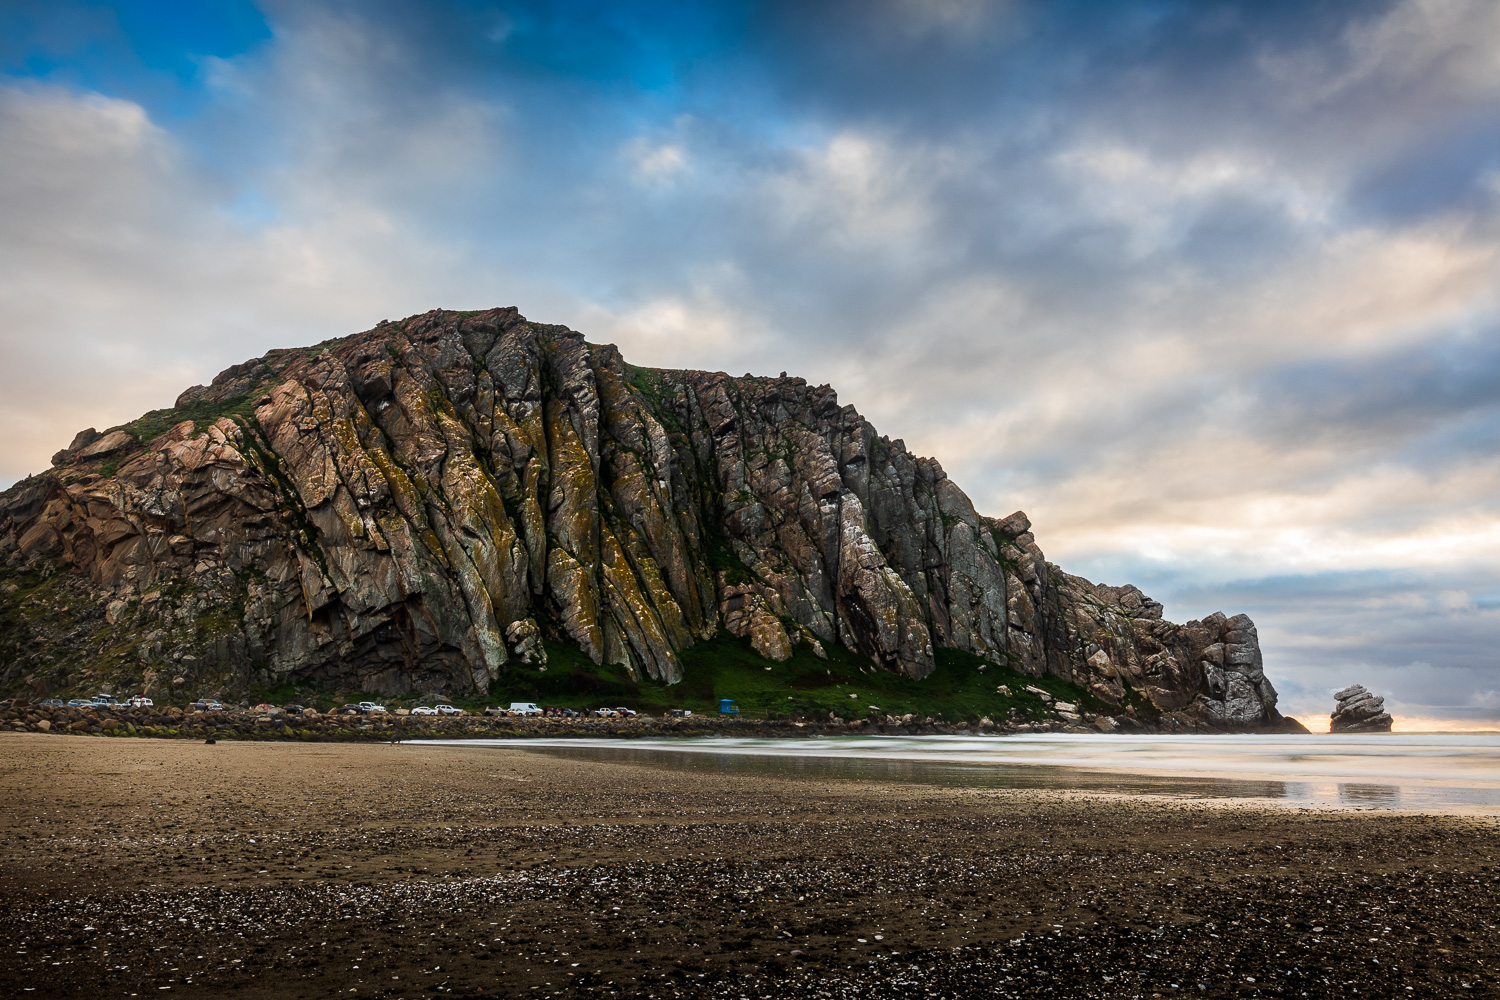
Morro Rock, Morro Bay, California
On Tuesday evening, I met a friend at Morro Rock in Morro Bay, California and we photographed the sunset. It was a bit cloudy, but we still got some nice color as well as some unique clouds.
All the images were created using a Canon 5D Mark IV along with a 16-35mm lens. They were edited in Adobe Lightroom and then processed with either Nik Color Efex Pro or OnOne Photo Raw.
Here’s some of my favorite pictures from the excursion.


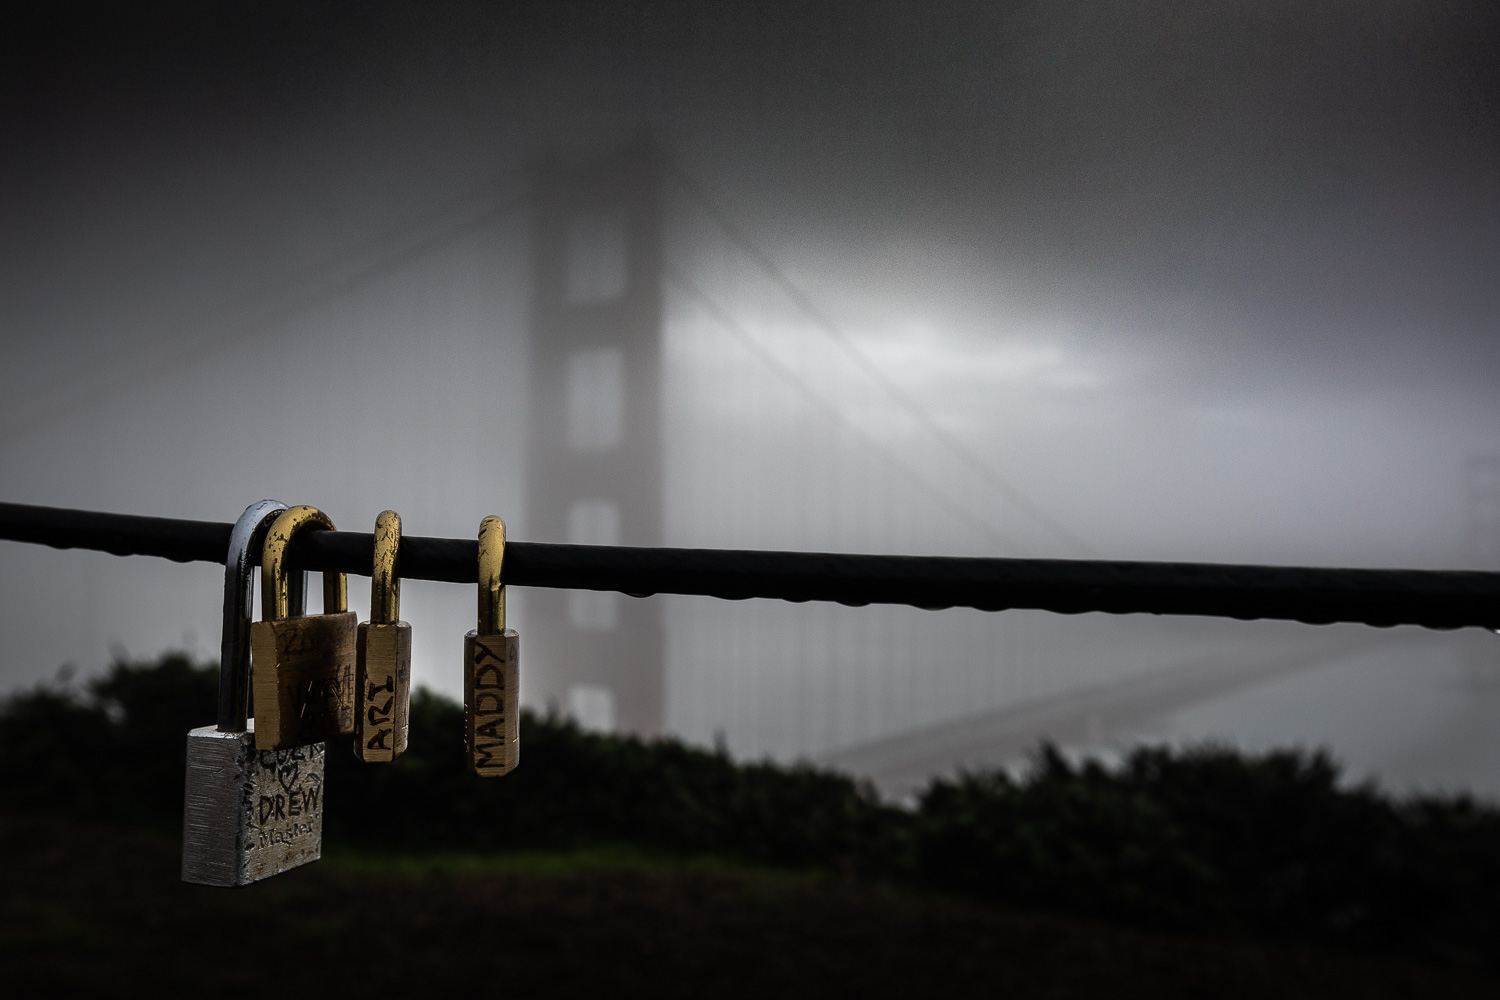
San Francisco, California
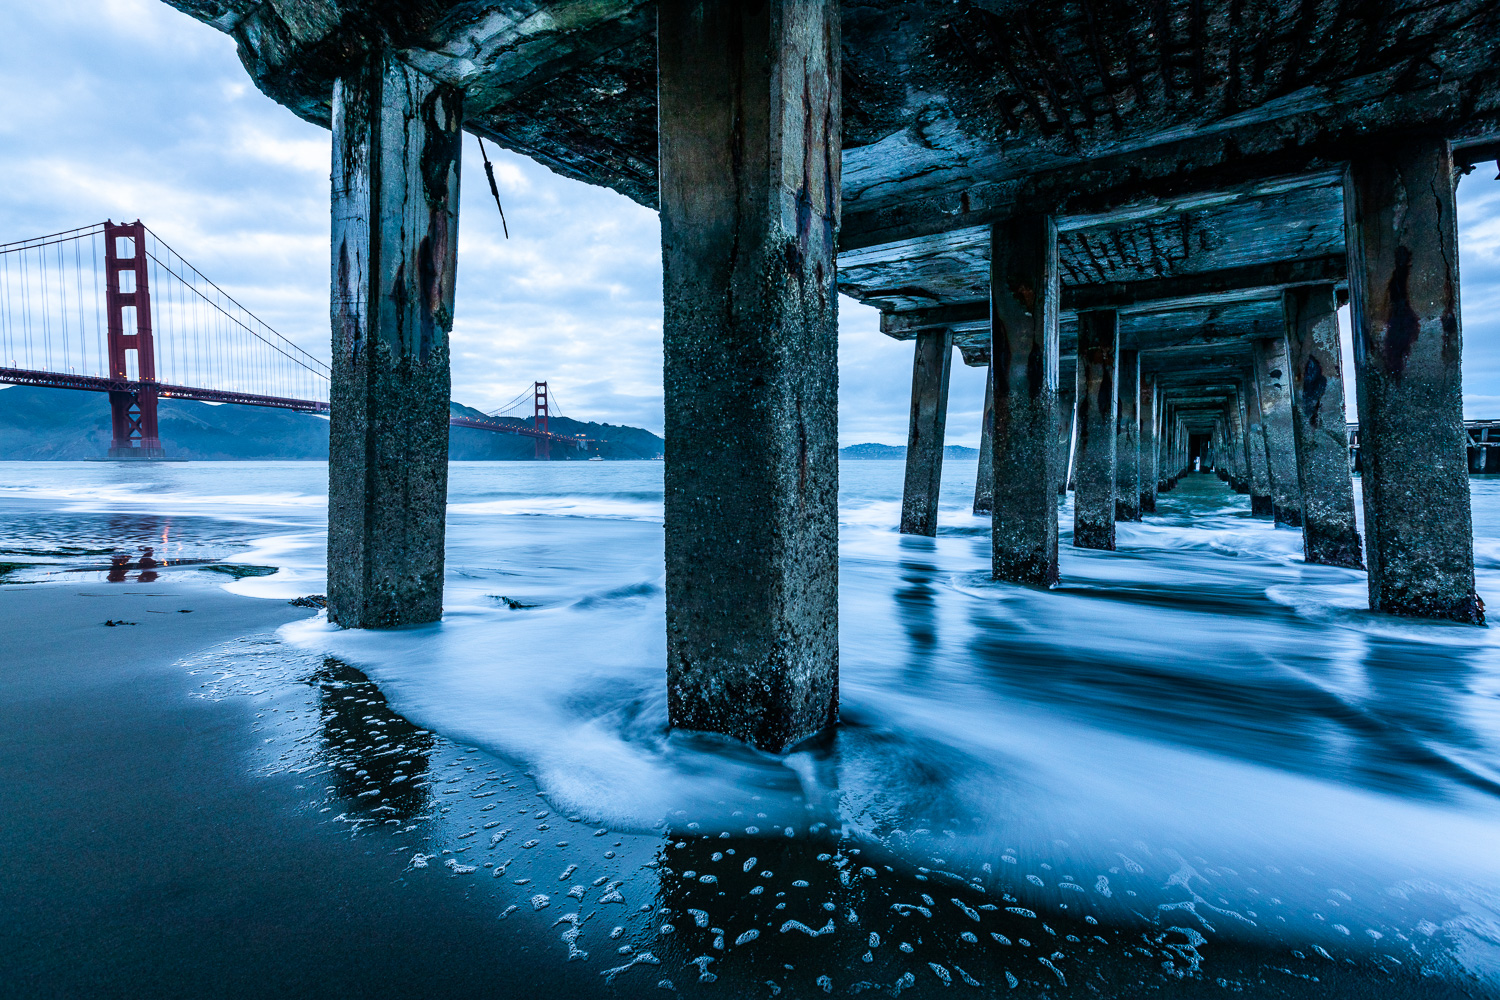
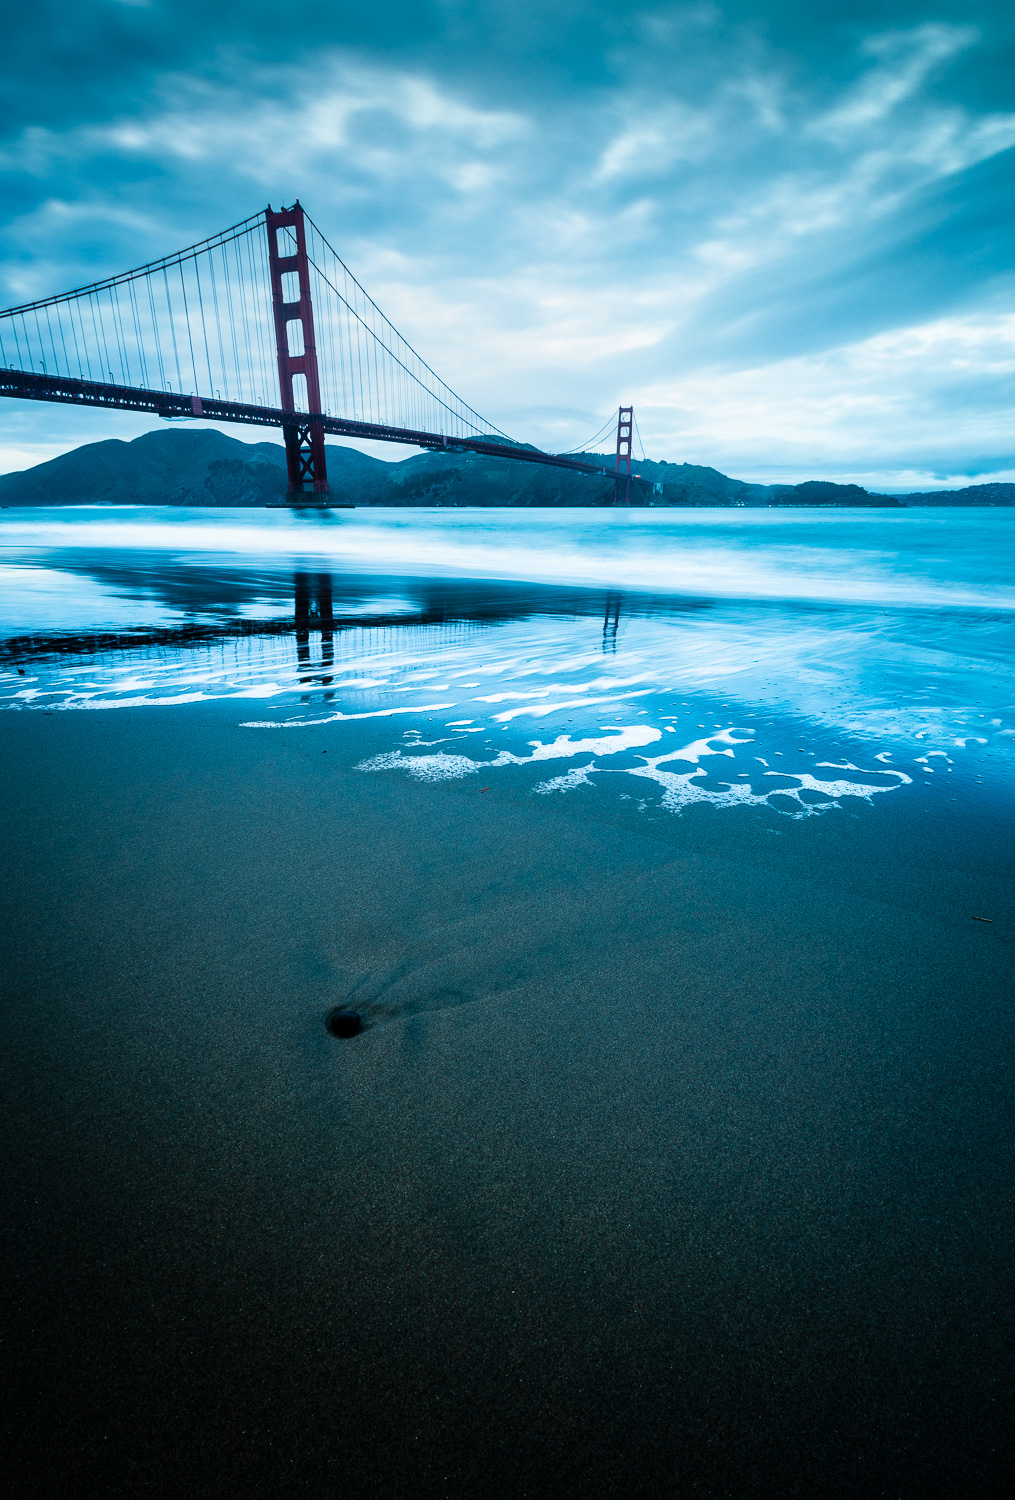
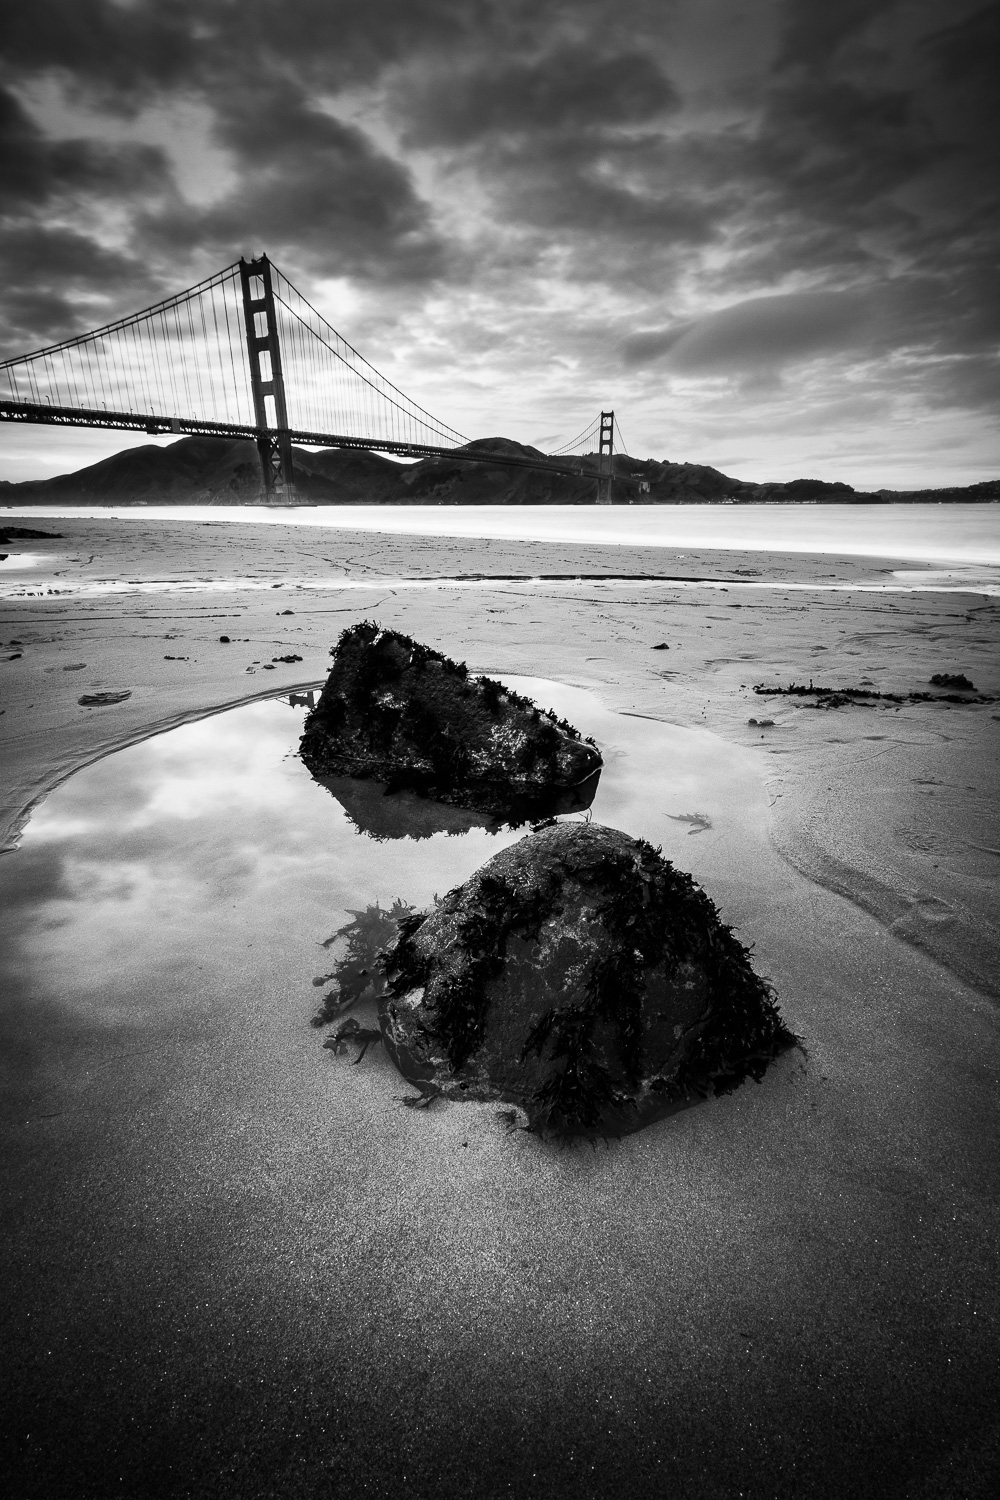
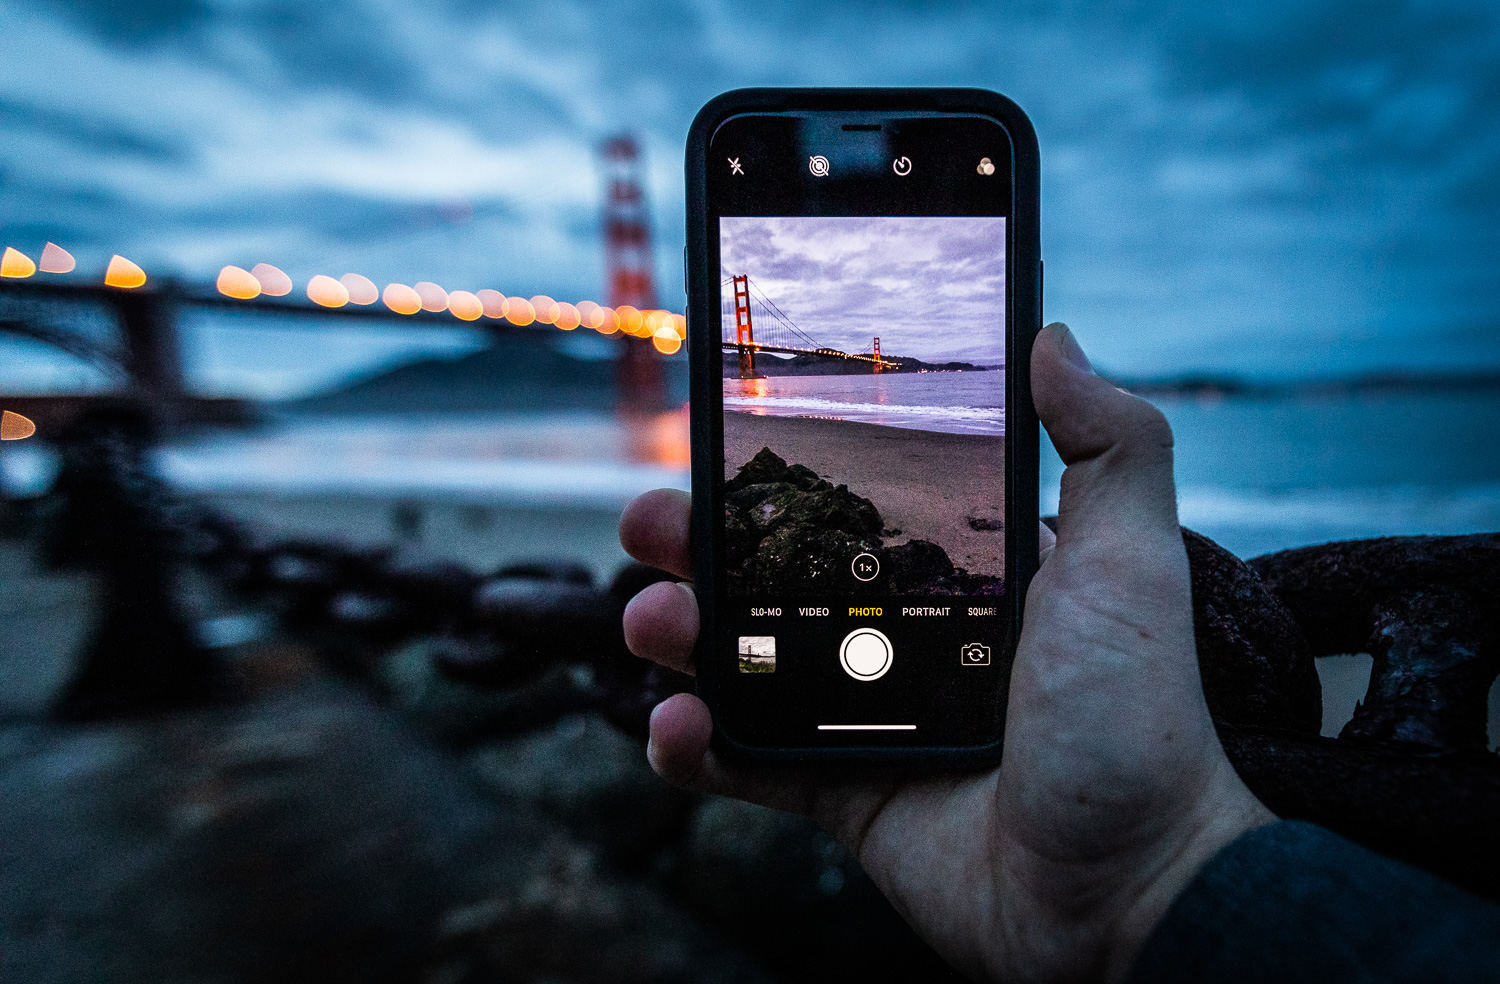
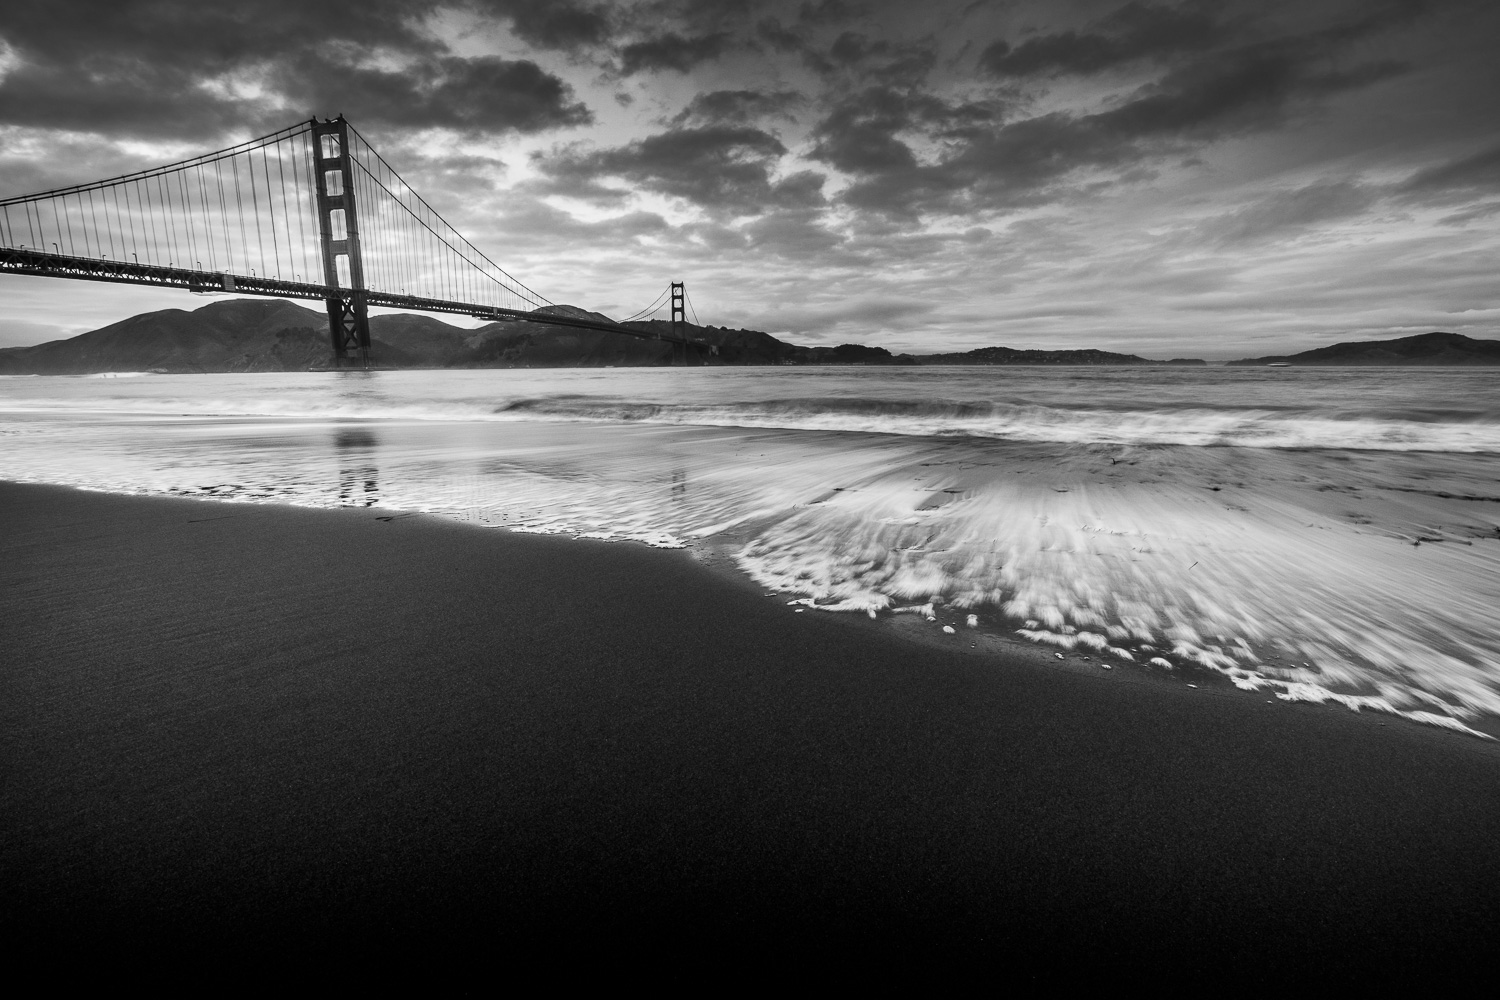
During the course of the three-day weekend for Martin Luther King Jr. Day, I went to San Francisco, California with two friends. We photographed the Golden Gate Bridge, downtown San Francisco, and the East side of San Francisco. It was an awesome experience!
During the course of the three-day weekend for Martin Luther King Jr. Day, I went to San Francisco, California with two friends. We photographed the Golden Gate Bridge, downtown San Francisco, and the East side of San Francisco. It was an awesome experience!
All the photographs were created using a Canon 5D Mark IV along with a 16-35mm lens. The wide-angle provided some challenges for the street photography, but it forced me to get creative and make use of what I had available.


Port Hueneme Pier, Port Hueneme, California
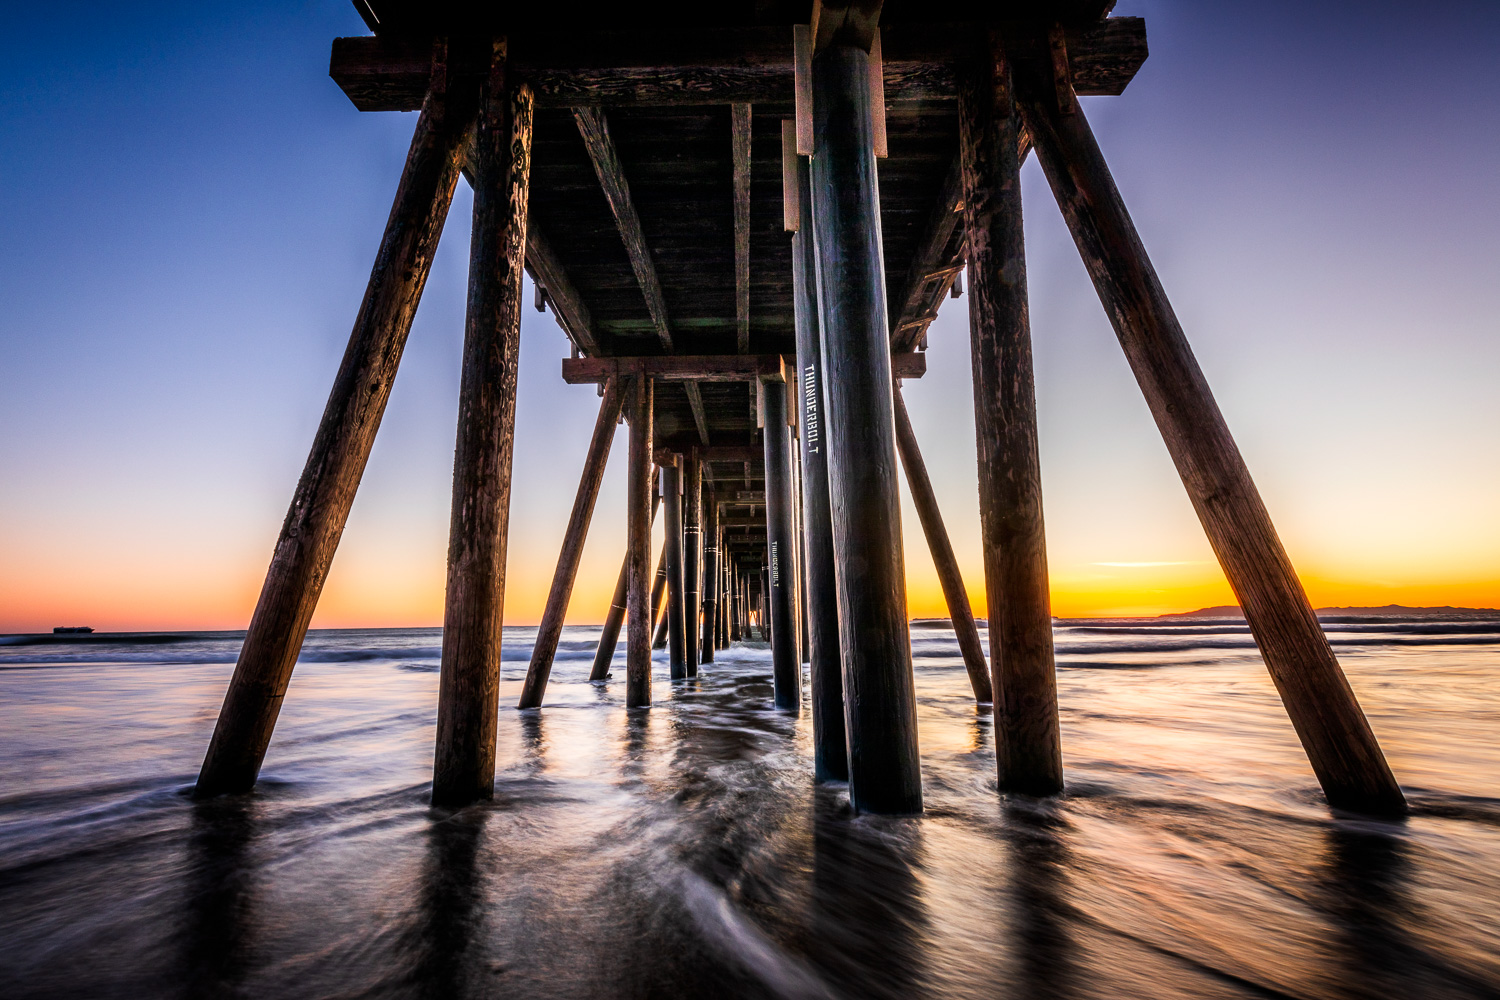
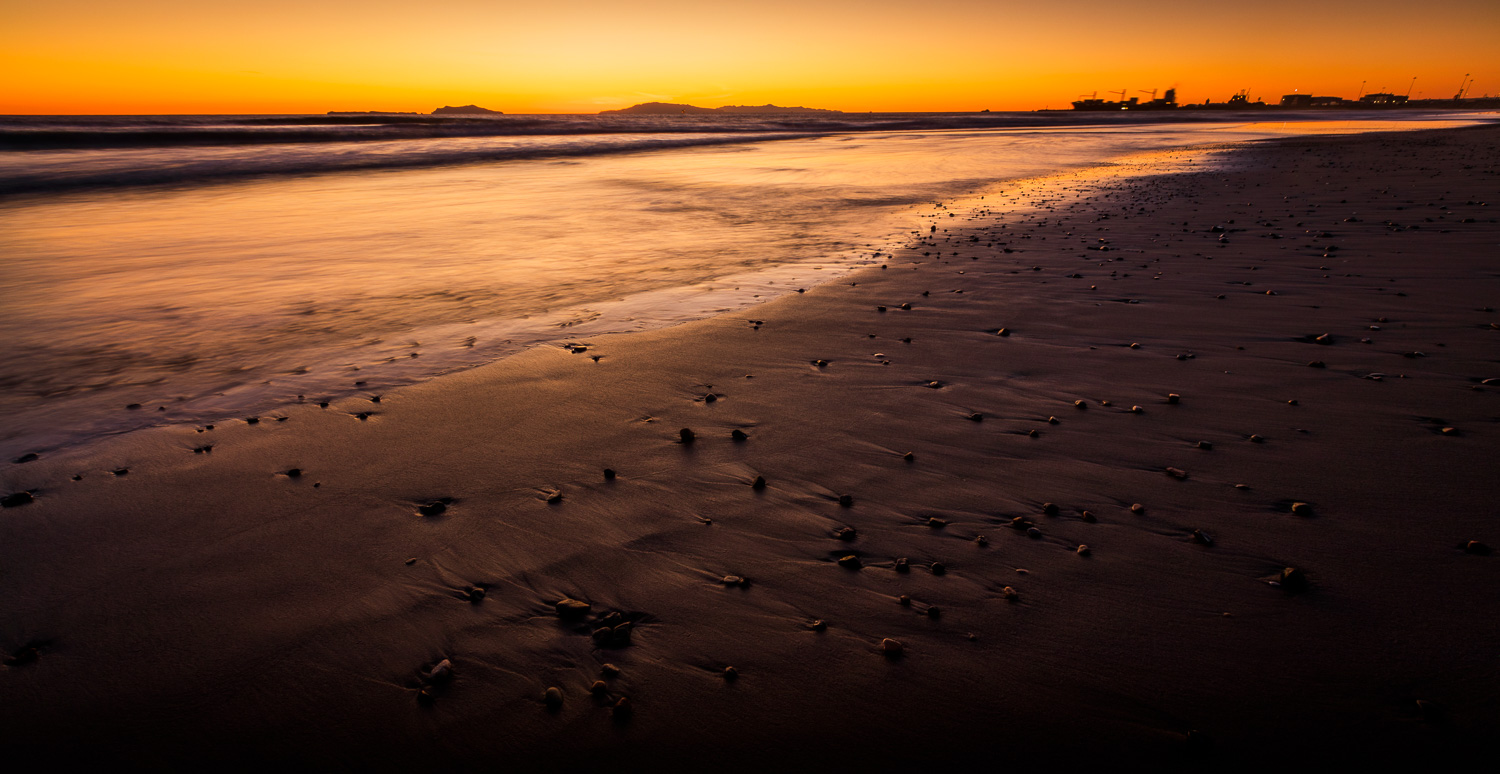
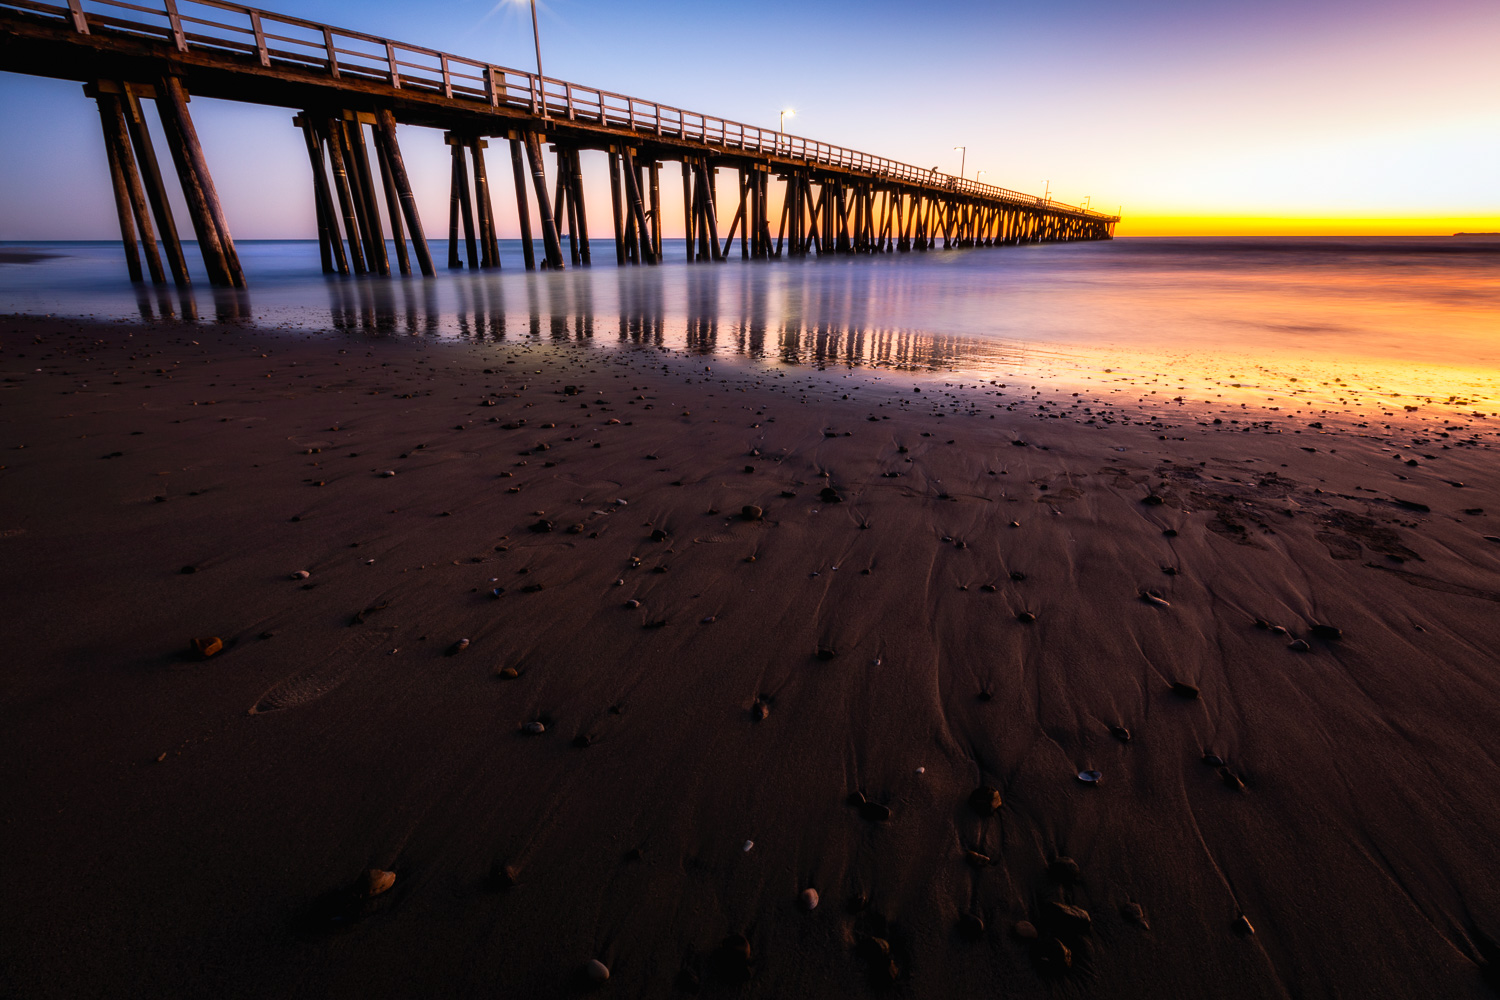
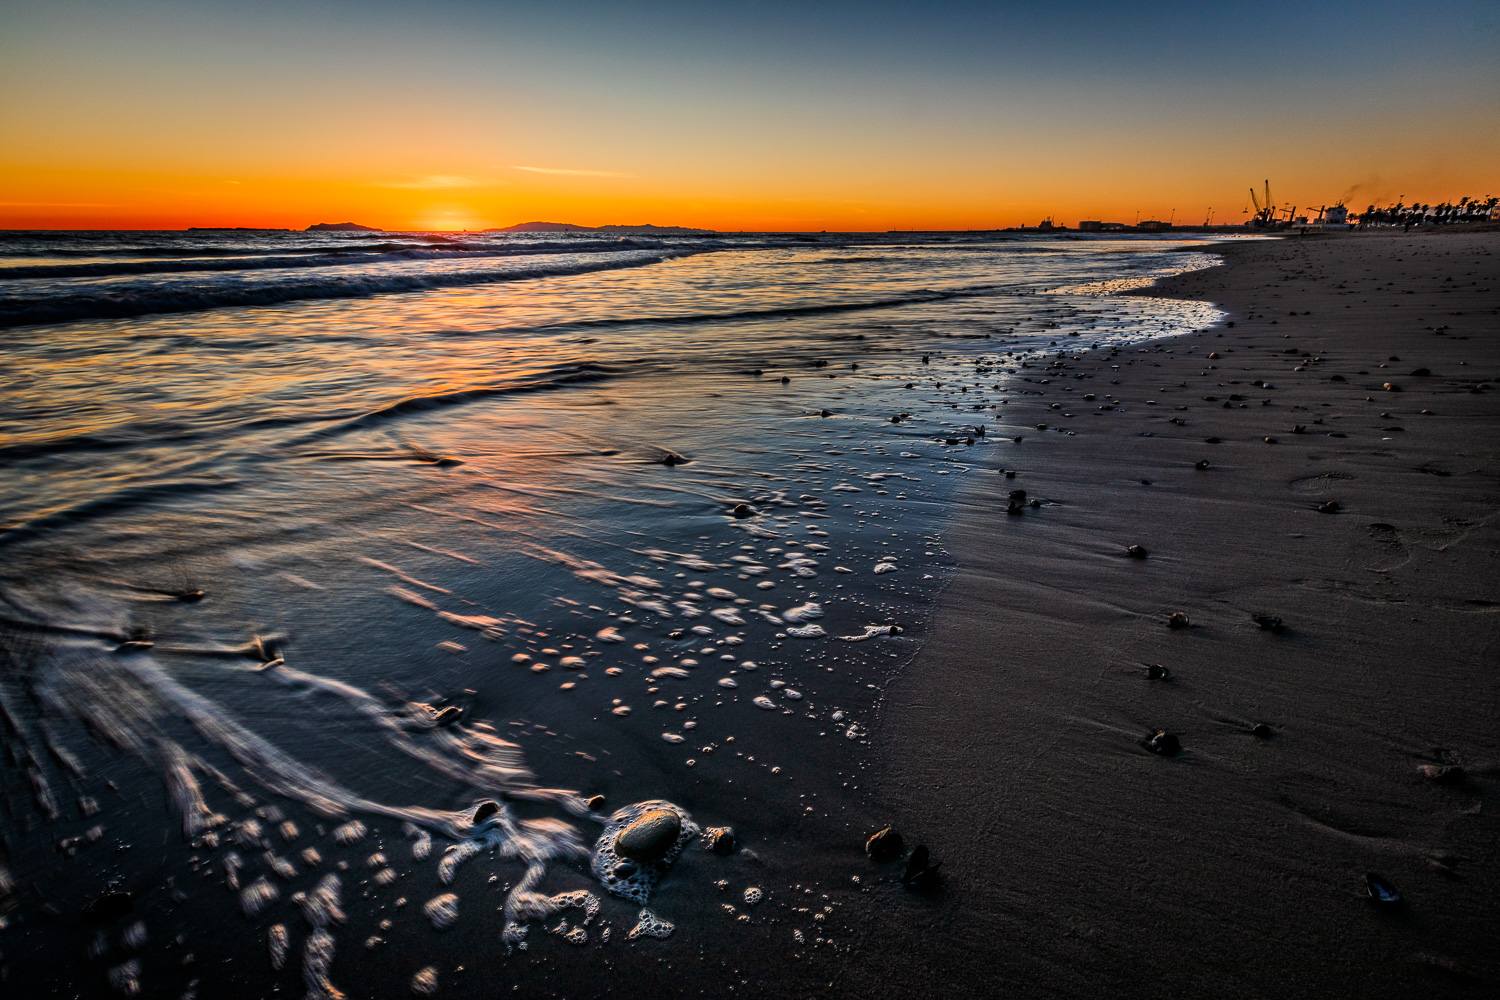
A few days after Christmas, my friend and I drove to Port Hueneme, California to photograph the sunset. There weren’t a lot of clouds in the sky, but we still got some incredible color.
All the photographs were created with a Canon 5D Mark IV along with a 16-35mm lens. The pictures were edited using Adobe Lightroom, Nik Color Efex Pro, OnOne Photo Raw 2017, and Adobe Photoshop.


Point Dume, Malibu, California
On Tuesday morning, a friend and I drove to Point Dume in Malibu, California to photograph the sunrise. We ended up getting some beautiful clouds which filled up nicely as the sun rose above the horizon.
The photos were captured using a Canon 5D Mark IV along with a 16-35mm lens or a 70-200mm lens.
On Tuesday morning, a friend and I drove to Point Dume in Malibu, California to photograph the sunrise. We ended up getting some beautiful clouds which filled up nicely as the sun rose above the horizon.
The photos were captured using a Canon 5D Mark IV along with a 16-35mm lens or a 70-200mm lens.


Montaña de Oro State Park, Los Osos, California
I finally got a chance to photograph my first sunset in the San Luis Obispo area. This was one of the most spectacular sunset I’ve ever seen. Minutes before, it was a relatively cloudy evening with mediocre color. Quickly, the sky lit up with beautiful blues, pinks, and oranges. It’s a sunset I won’t forget.
I finally got a chance to photograph my first sunset in the San Luis Obispo area. This was one of the most spectacular sunset I’ve ever seen. Minutes before, it was a relatively cloudy evening with mediocre color. Quickly, the sky lit up with beautiful blues, pinks, and oranges. It’s a sunset I won’t forget.
The images are captured with a Canon 5D Mark IV along with a 16-35mm lens. The photographs were edited using a combination of Adobe Lightroom, Nik Color Efex Pro, and OnOne Photo Raw 2017.


