
Montaña de Oro State Park, Los Osos, California
I photographed a sunset a few weeks ago at Montaña de Oro State Park along California’s central coast. It was my last sunset before I headed home from college for the summer. It ended up being a real pretty sunset to finish off the year.
I photographed a sunset a few weeks ago at Montaña de Oro State Park along California’s central coast. It was my last sunset before I headed home from college for the summer. It ended up being a real pretty sunset to finish off the year.
The pictures were created with a Canon 5D Mark IV and a 16-35mm lens. They were edited using Adobe Lightroom and Nik Color Efex Pro or OnOne Photo Raw 2017.
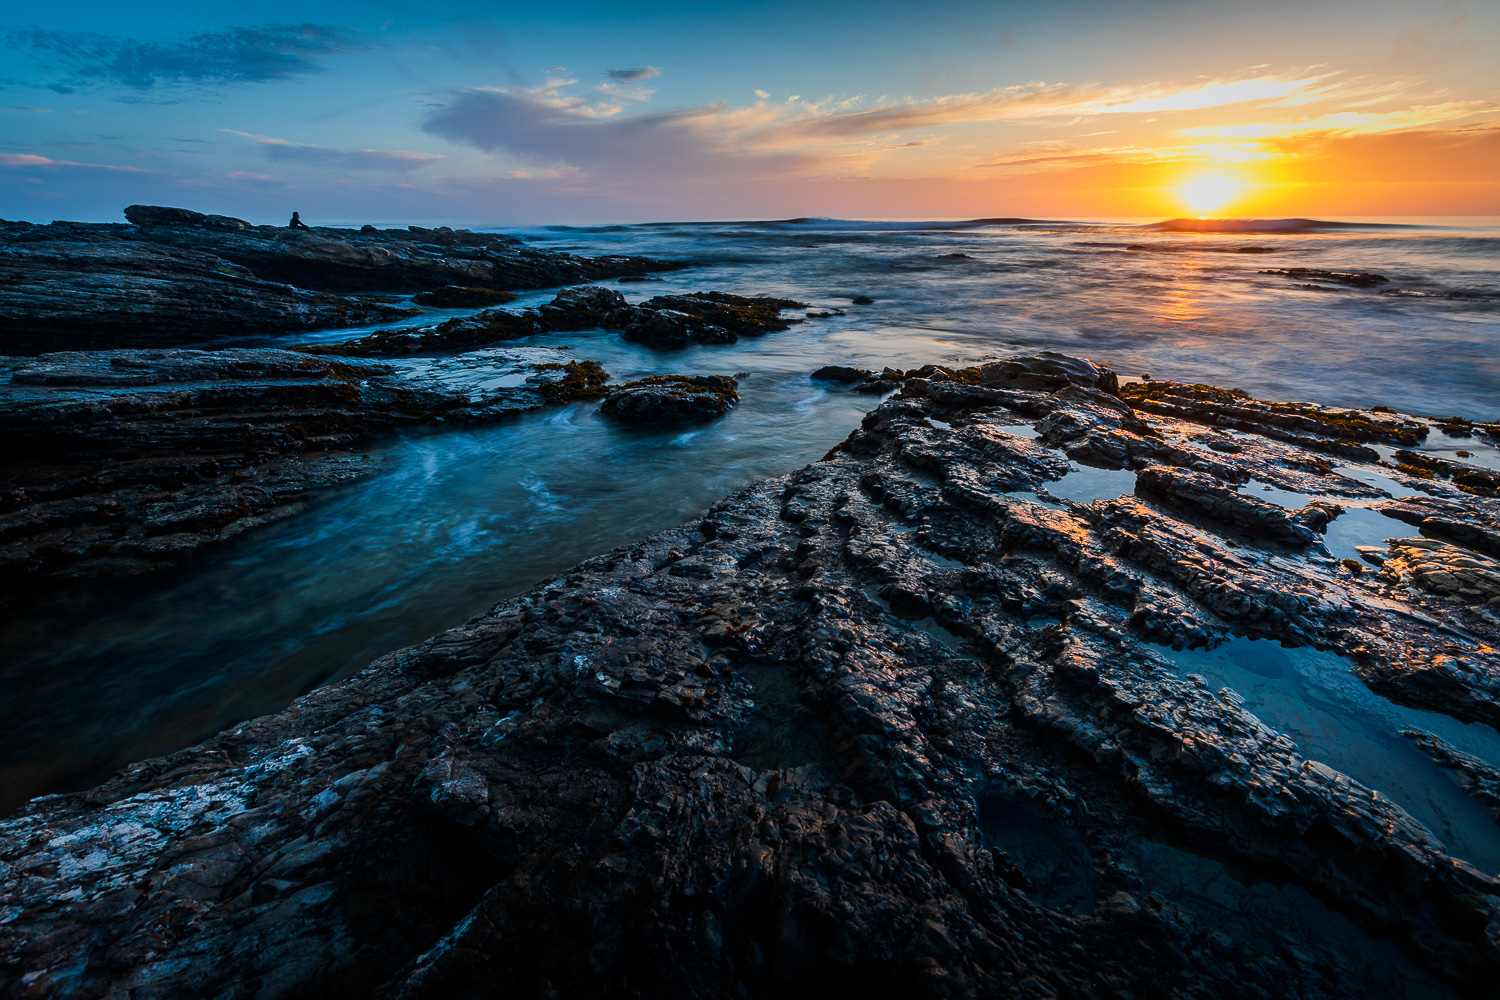


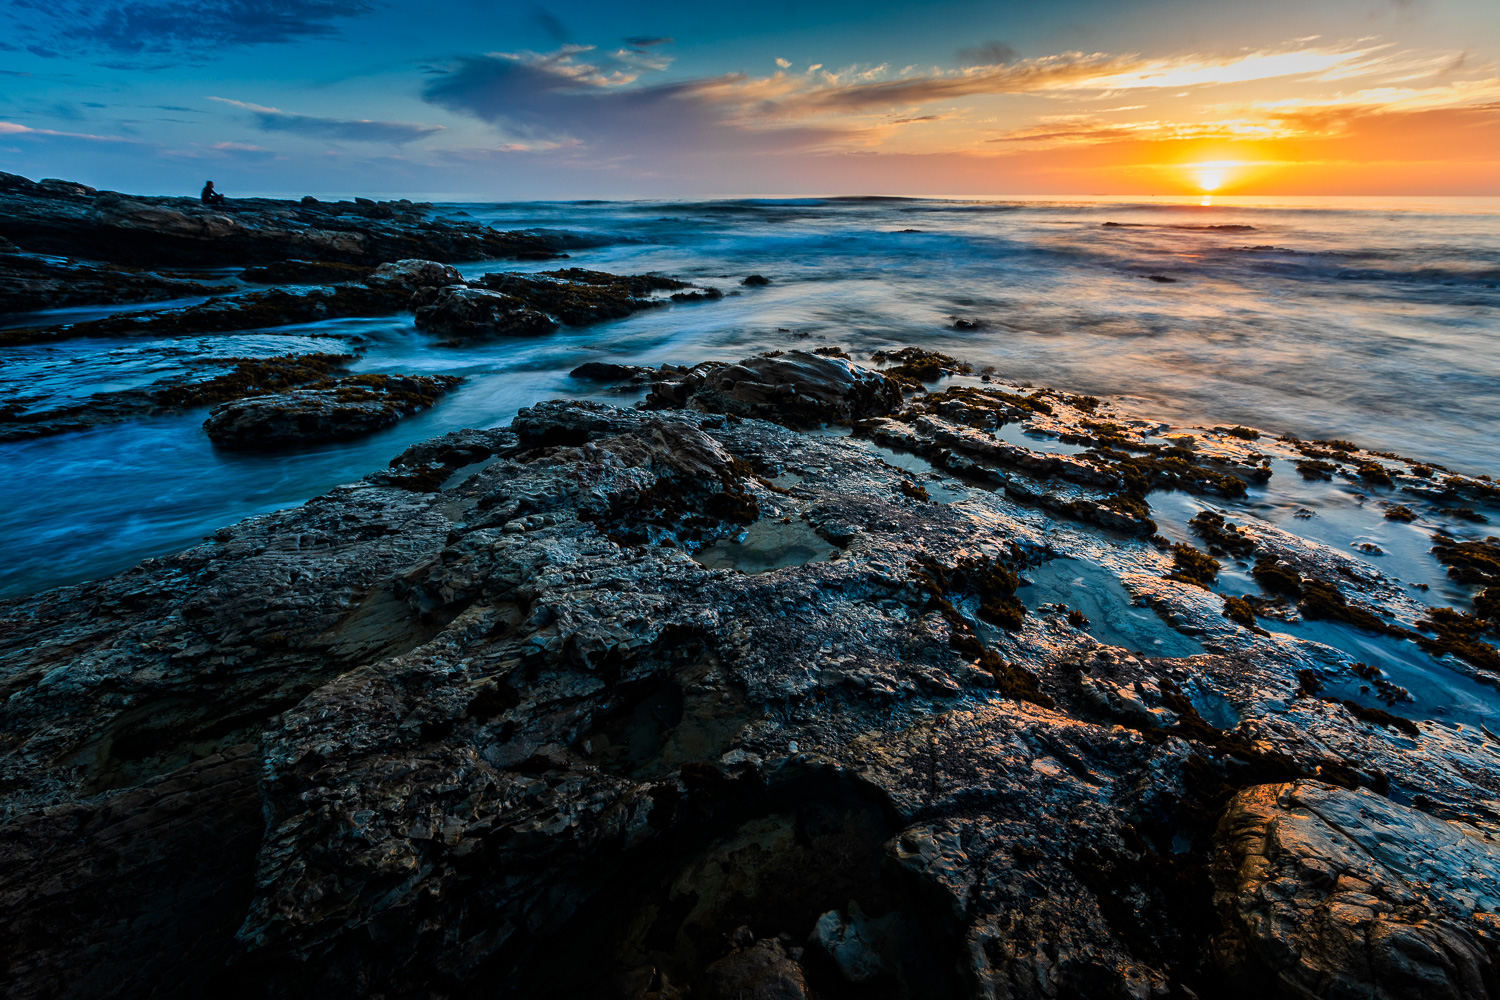


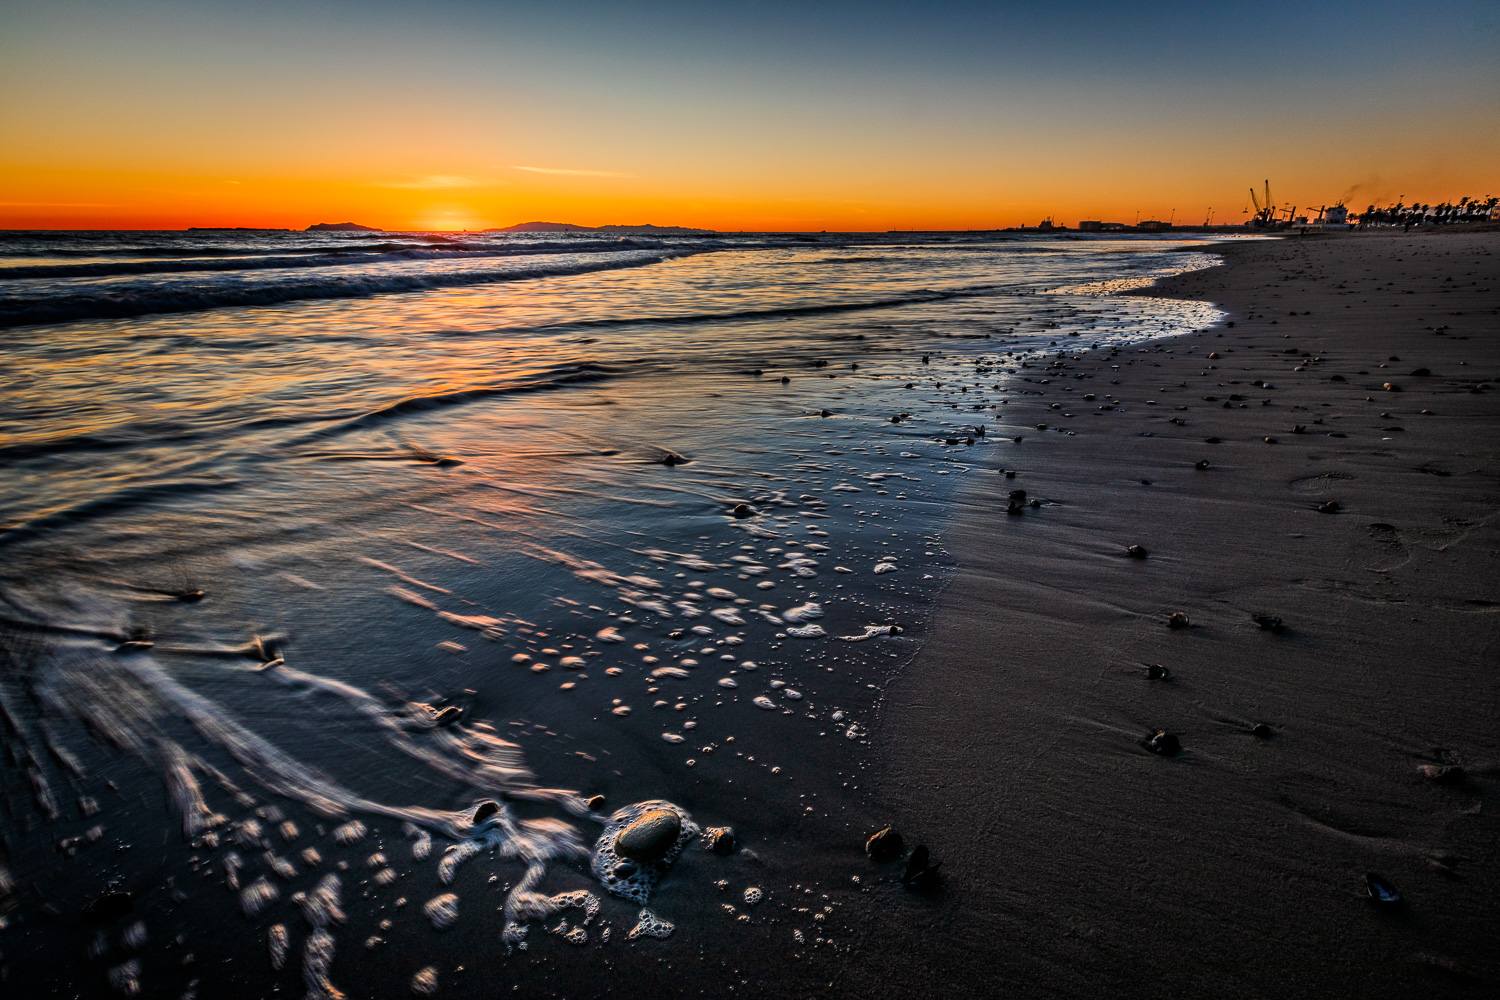
San Simeon, California
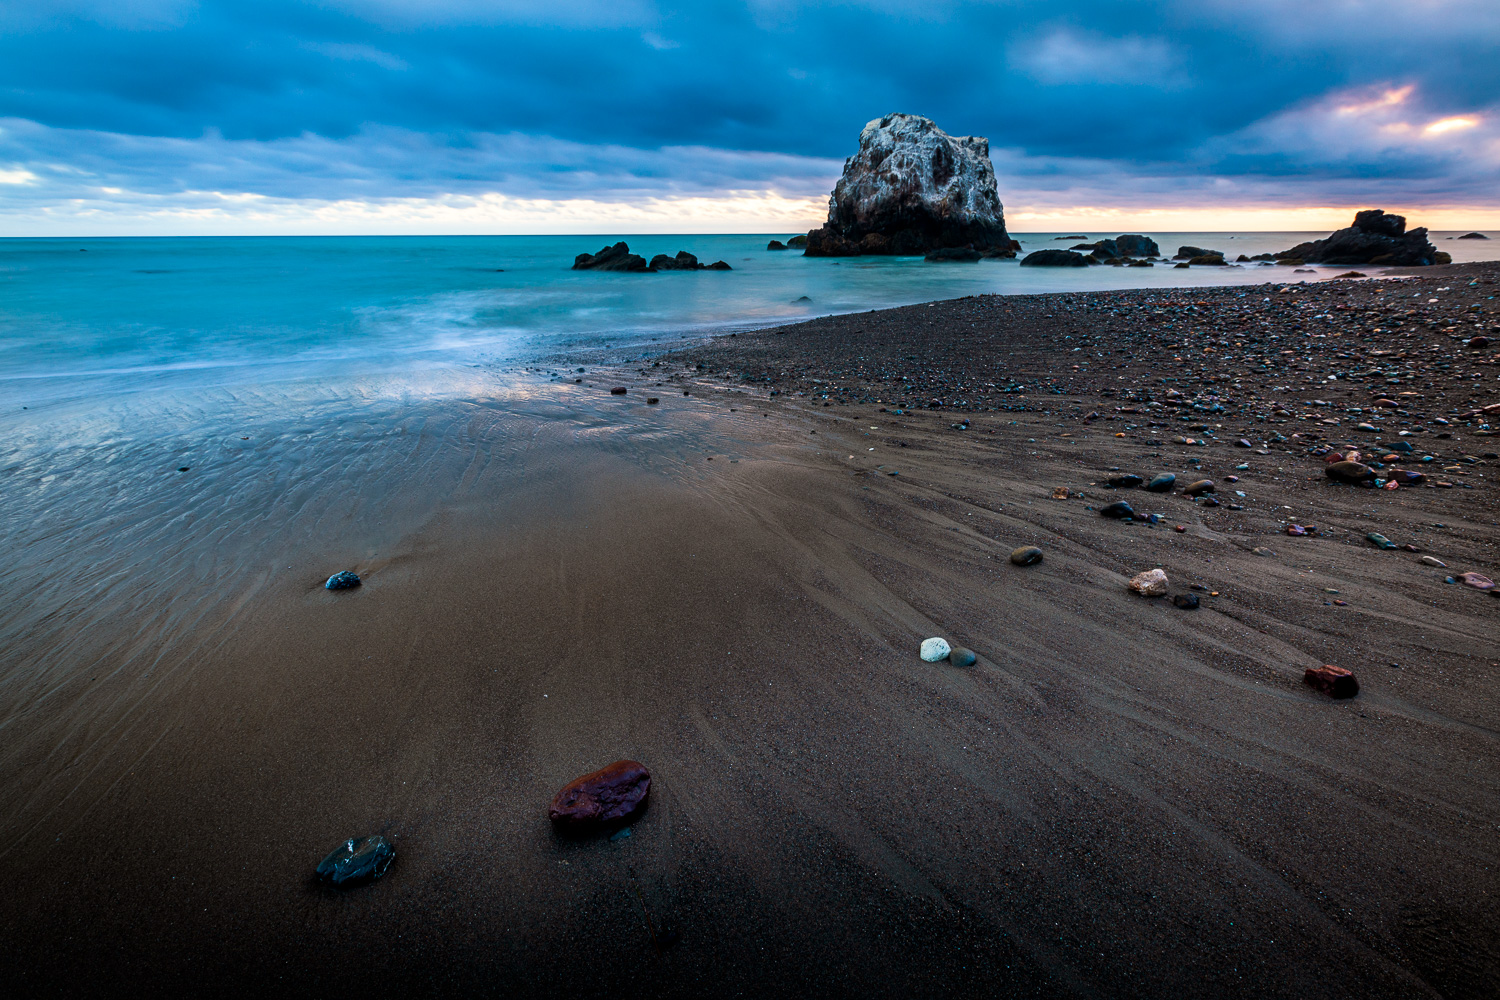
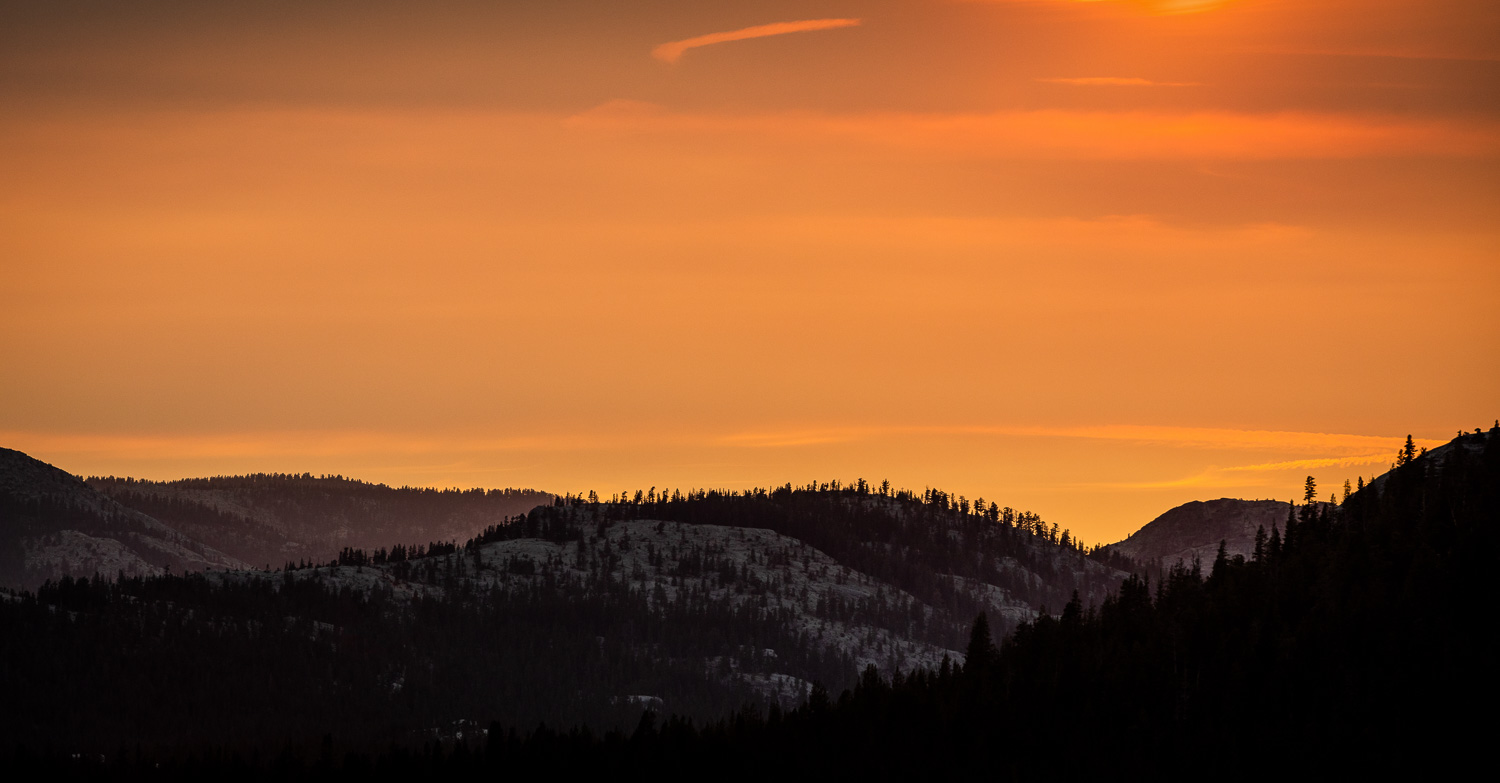
Last Sunday I drove up to San Simeon, California for sunset and stopped at a pullout along the PCH a little south of Hearst Castle. I was excited to get a colorful sunset since the last four or five times I’d gone out to photograph had been incredibly overcast.
Last Sunday I drove up to San Simeon, California for sunset and stopped at a pullout along the PCH a little south of Hearst Castle. I was excited to get a colorful sunset since the last four or five times I’d gone out to photograph had been incredibly overcast.
Anyway, here’s a few of my favorite images from the evening. They were all made using a Canon 5D Mark IV and a 16-35mm lens. I used Adobe Lightroom and either Nik Color Efex Pro or OnOne Photo Raw to edit them.


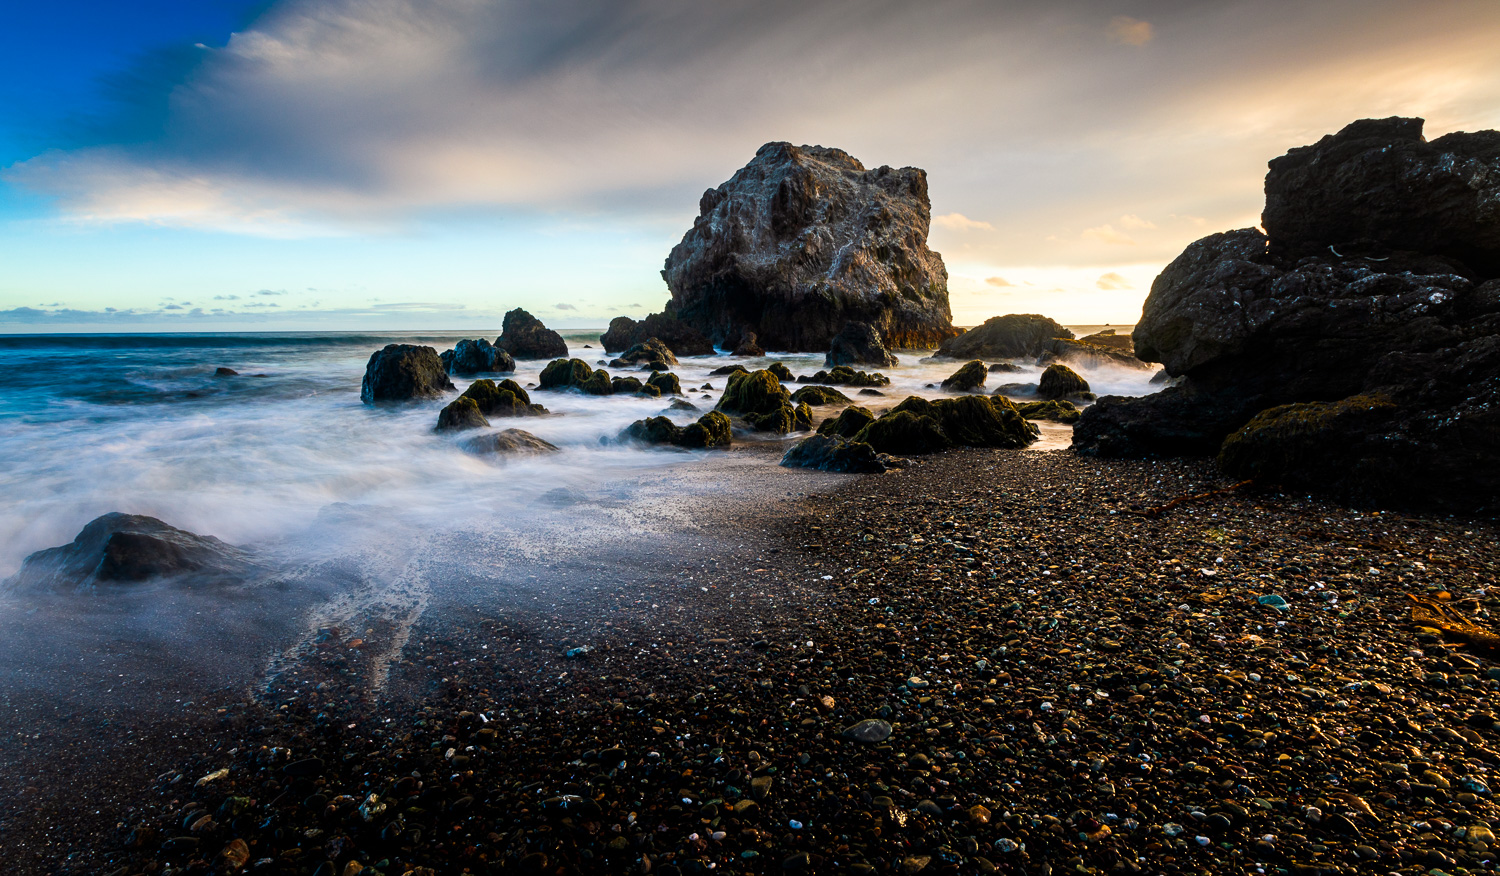


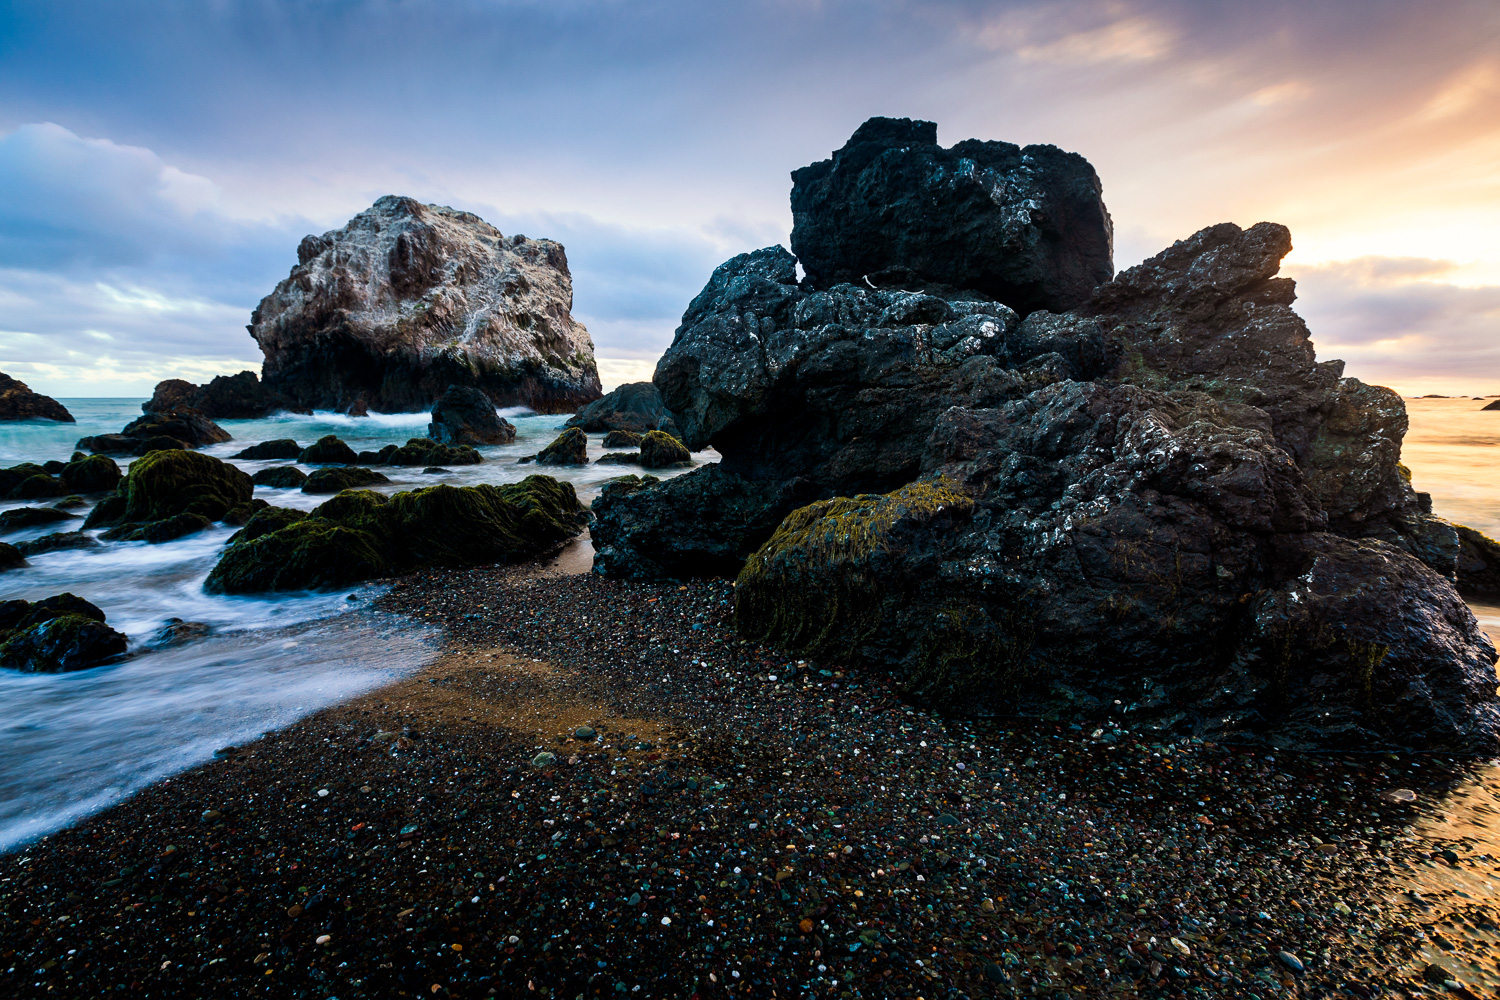


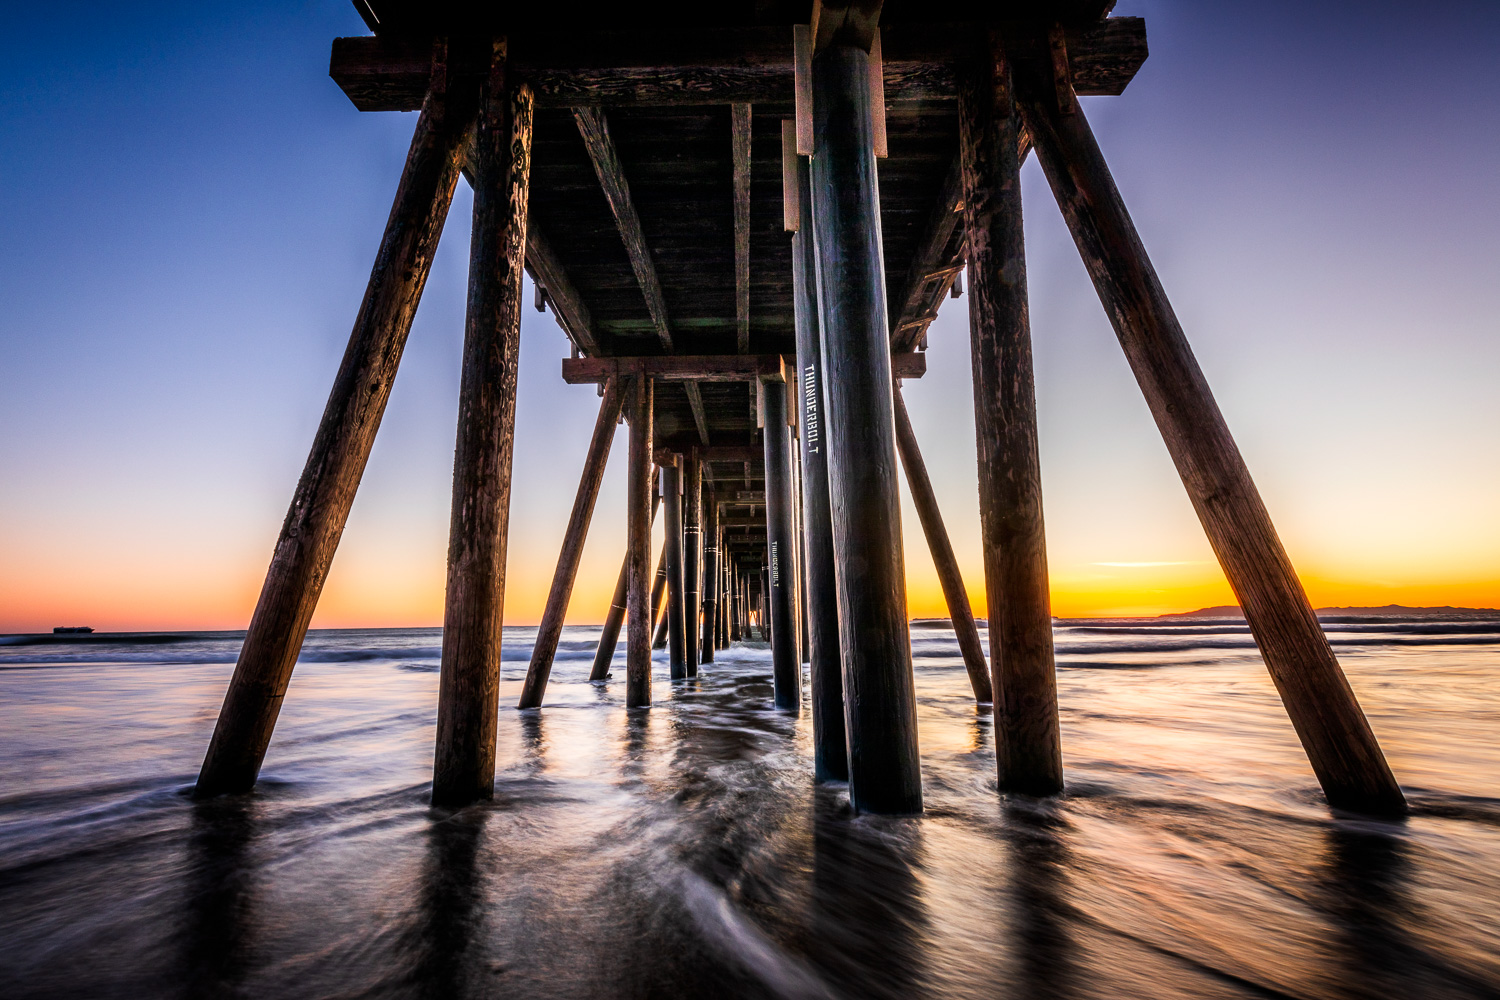
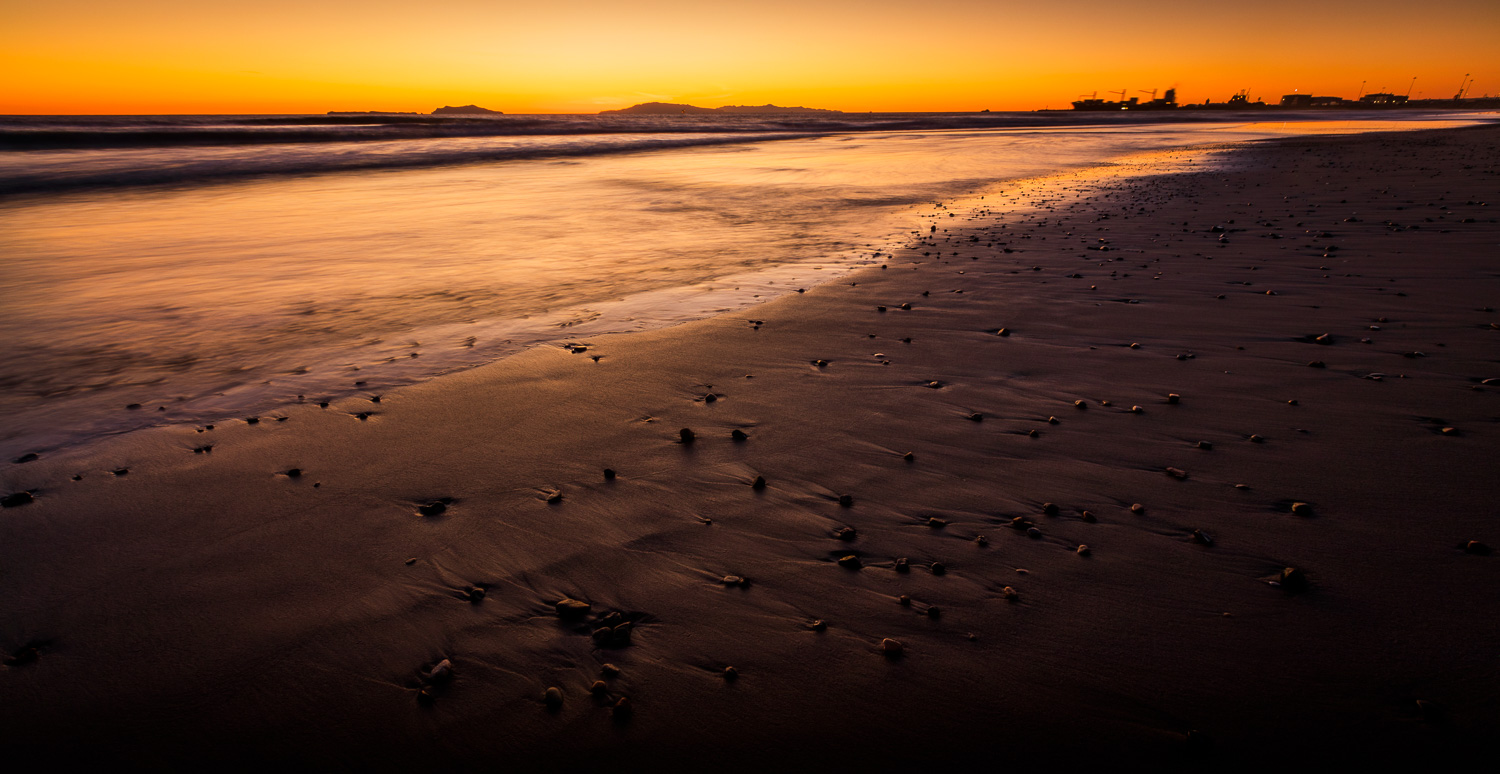
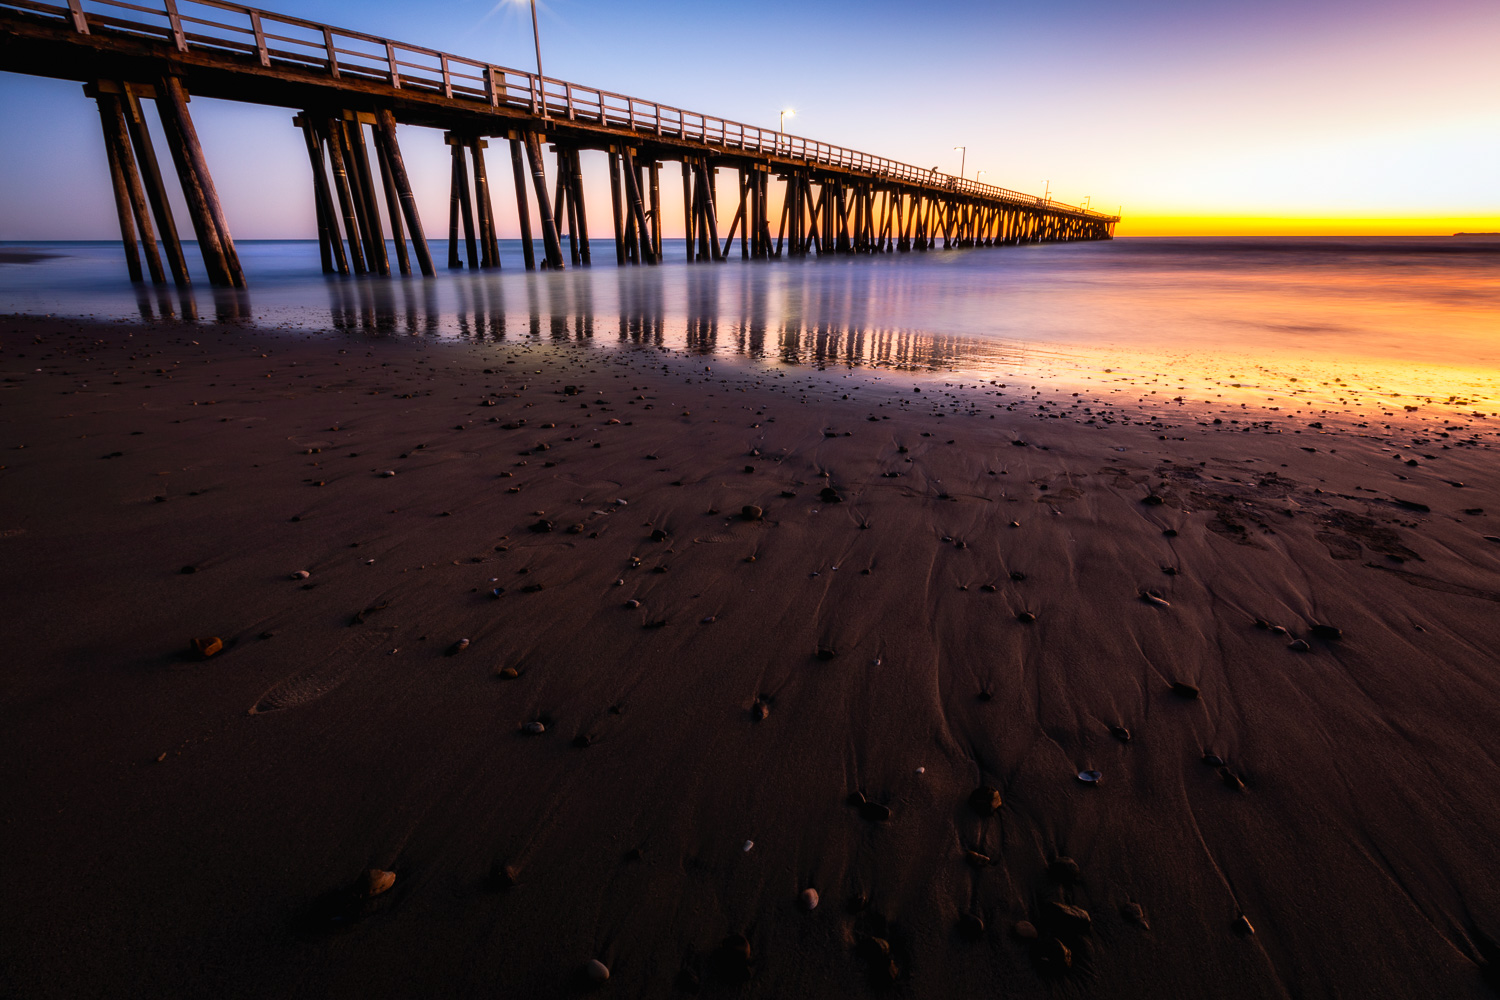
Port Hueneme Pier, Port Hueneme, California
A few days after Christmas, my friend and I drove to Port Hueneme, California to photograph the sunset. There weren’t a lot of clouds in the sky, but we still got some incredible color.
All the photographs were created with a Canon 5D Mark IV along with a 16-35mm lens. The pictures were edited using Adobe Lightroom, Nik Color Efex Pro, OnOne Photo Raw 2017, and Adobe Photoshop.


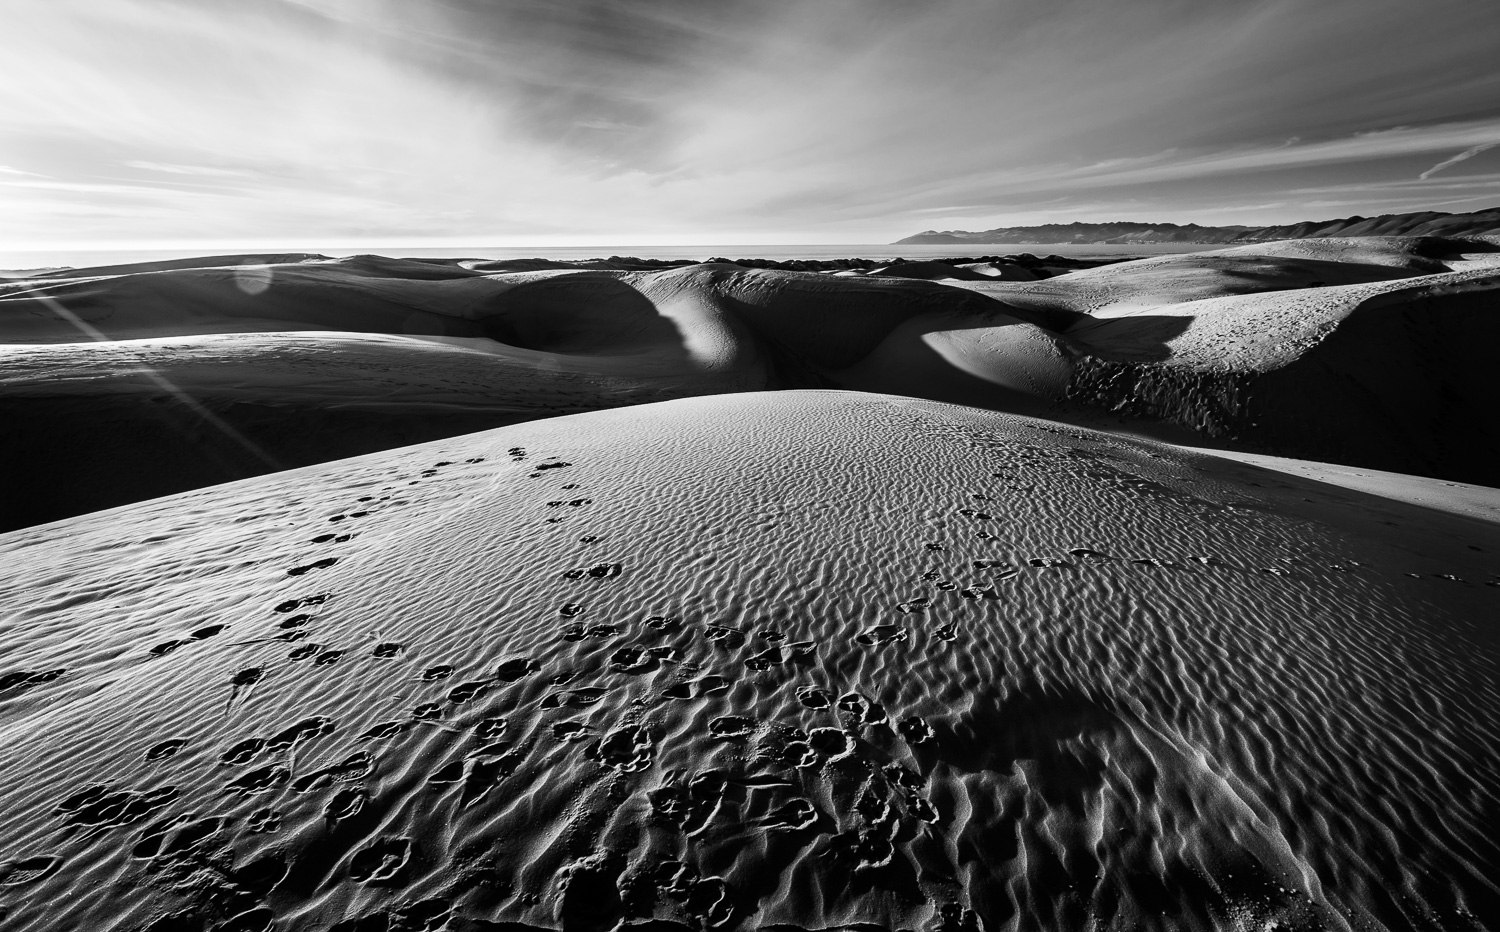
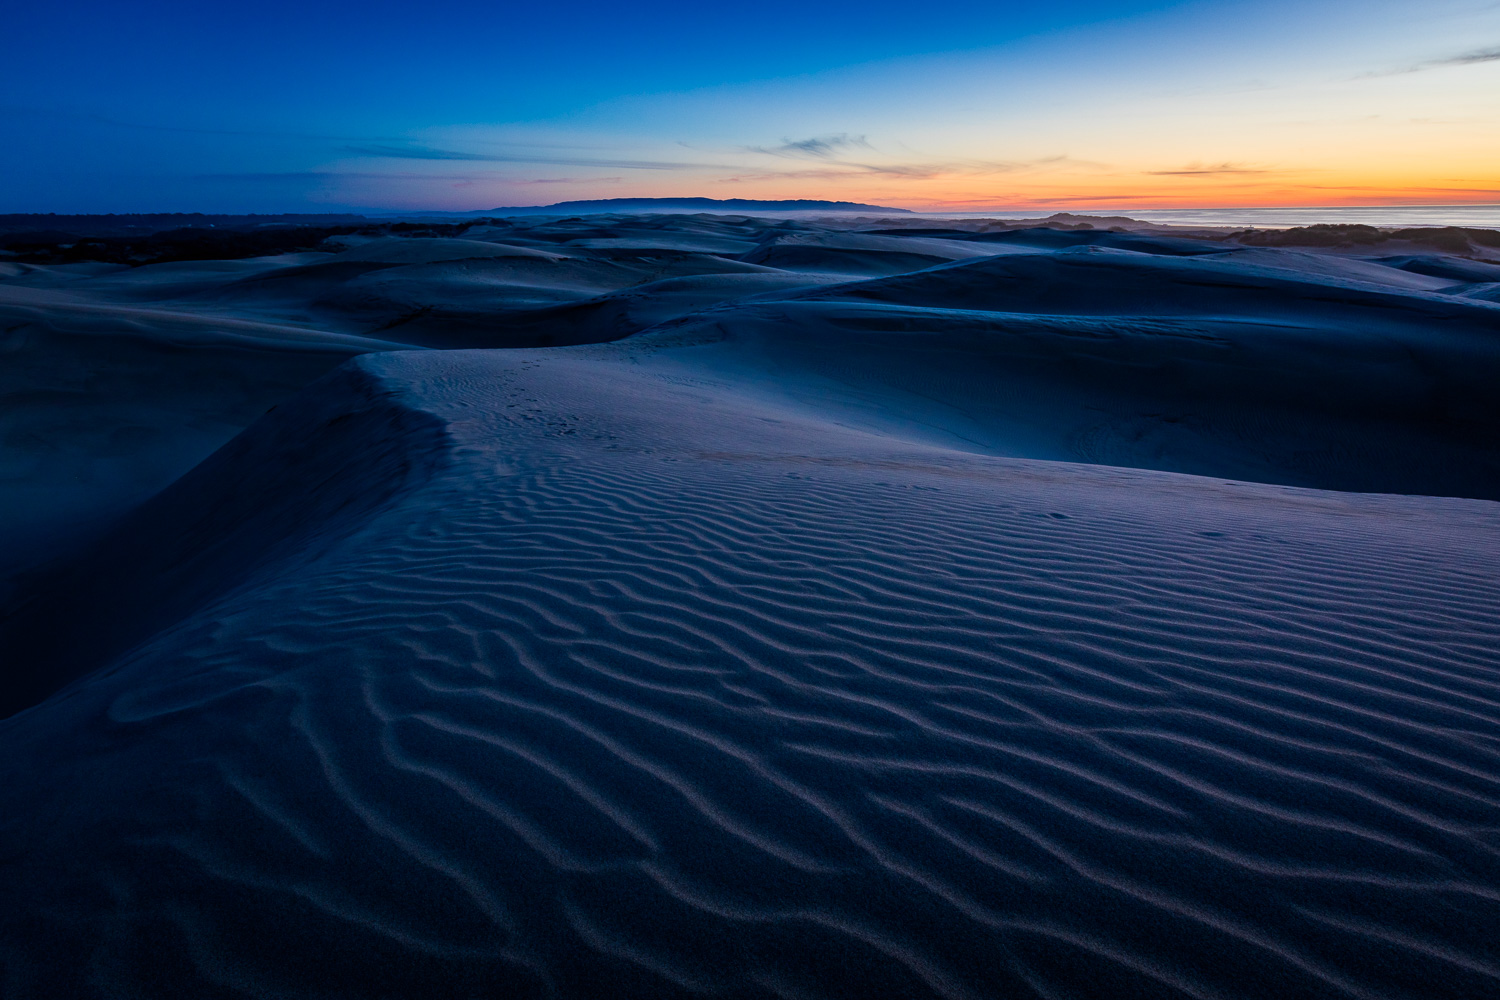
Oceano Sand Dunes, Oceano, California
Last weekend I drove to the Oceano Dunes in Pismo Beach, California during sunset. These were the first sand dunes I had ever experienced and they were truly breathtaking. It was an incredible experience!
All of the images were captured using a Canon 5D Mark IV along with a 16-35mm lens. I edited the photos using Adobe Lightroom in combination with either Nik Color Efex Pro or OnOne Photo Raw.
Last weekend I drove to the Oceano Dunes in Oceano, California during sunset. These were the first sand dunes I had ever experienced and they were truly breathtaking. It was an incredible experience!
All of the images were captured using a Canon 5D Mark IV along with a 16-35mm lens. I edited the photos using Adobe Lightroom in combination with either Nik Color Efex Pro or OnOne Photo Raw.


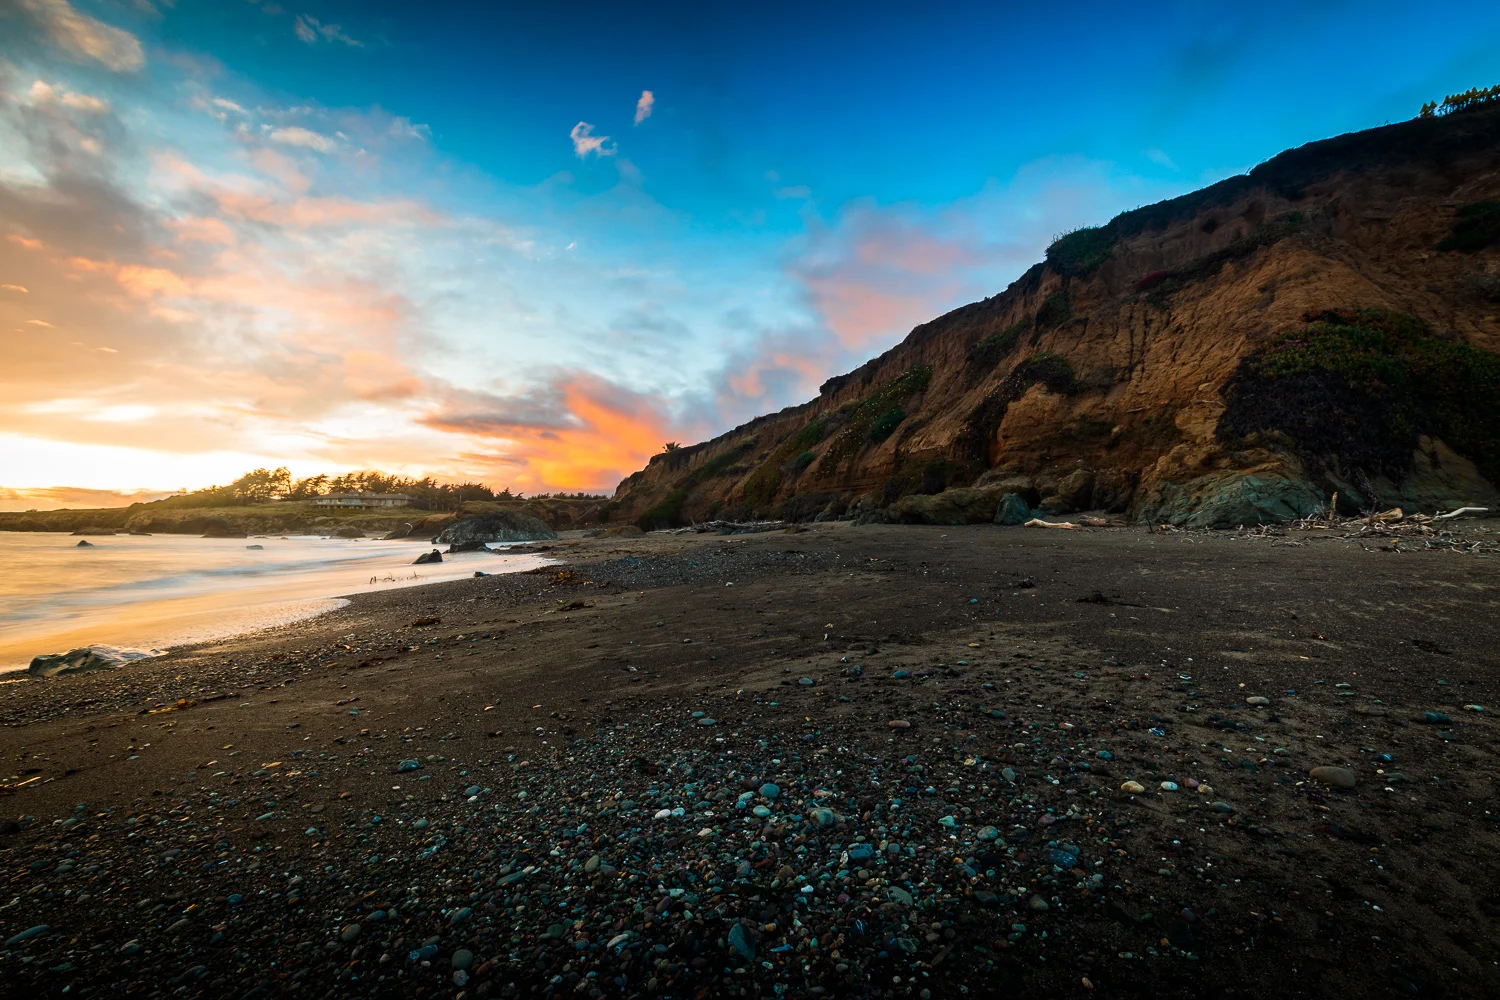
Montaña de Oro State Park, Los Osos, California
I finally got a chance to photograph my first sunset in the San Luis Obispo area. This was one of the most spectacular sunset I’ve ever seen. Minutes before, it was a relatively cloudy evening with mediocre color. Quickly, the sky lit up with beautiful blues, pinks, and oranges. It’s a sunset I won’t forget.
I finally got a chance to photograph my first sunset in the San Luis Obispo area. This was one of the most spectacular sunset I’ve ever seen. Minutes before, it was a relatively cloudy evening with mediocre color. Quickly, the sky lit up with beautiful blues, pinks, and oranges. It’s a sunset I won’t forget.
The images are captured with a Canon 5D Mark IV along with a 16-35mm lens. The photographs were edited using a combination of Adobe Lightroom, Nik Color Efex Pro, and OnOne Photo Raw 2017.


Yosemite National Park
A couple weeks ago, I went on a road trip to Yosemite National Park with two friends. We camped for three nights, did several hikes, watched sunrises, and captured some beautiful photographs. Below are some of my personal favorites from the trip.
A couple weeks ago, I went on a road trip to Yosemite National Park with two friends. We camped for three nights, completed several hikes, watched sunrises, and captured some beautiful photographs. Below are some of my personal favorites from the trip.


Understanding Aperture
Aperture is one of the vital components used to construct creative and compelling photographs. Often times, specific apertures can be used for certain situations or subjects. Aperture is defined as the space in the lens that allows light to enter the camera and hit the sensor. In order to alter the aperture you typically turn a dial or press a button on the camera body. In turn, the hole letting in the light increases or decreases in size. Consequently, more or less light will hit the camera’s sensor.
The smallest aperture number, usually 1.4, 2.8, 4, or 5.6, depending on the lens, lets in the most light. When you use the smallest numbered aperture (f-stop) you are shooting “wide open.” As you increase the aperture number, the size of the hole is decreasing. This is known as “stopping the lens down.”
The largest aperture numbers are usually 16, 22, or 32. When using the largest numbered aperture the lens is at its smallest opening, letting in the least amount of light.
Aperture is responsible for the depth of field in the image. Depth of field is the area of sharpness within a photograph. For example, if you are photographing a flower with mountains in the background, you may notice that when you focus on the flower the mountains go out of focus and when you focus on the mountains, the flower goes out of focus.
The camera itself does not control whether an image is completely sharp. In theory, a lens is only able to focus on one subject and depending on the other objects in your image, they will be less sharp. Generally the farther the object is away from the focus point, the more out of focus that object will be. Aperture is used to manipulate the camera and lens to achieve a desired level of sharpness. Optical law states that the smaller opening of any given lens (large f-stop numbers), the greater the area of sharpness in the photo. Using larger apertures such as f-stop numbers of 2.8, 4, or 5.6, means that only the light hitting the focused object will appear sharp. The rest of the light on the rest of the composition will splatter on the sensor and appear blurry and out of focus.
On the other hand, if you take the same object and photograph it with a small aperture, such as f/22, the amount of light hitting the sensor is considerably decreased. This results in a reduced splatter and an overall sharper scene. This is especially useful when shooting landscapes.
With this in mind, it’s a common misconception that one should only shoot with small apertures in order to achieve a completely sharp image. However, aperture is an incredible creative tool that should be explored. Experiment with a variety of apertures until you find something unique and creative. The subject and the amount of sharpness you desire will determine the aperture you use. The aperture will differ based on the situation.
Large Apertures
Generally you want to use larger apertures when you want to isolate your subject from the background. For example, if you were to photograph a flower against the rest of the plant; you would probably want to isolate the flower in order to make it stand out from the the busy background. Isolating your subject often results in a simple, effective composition.
In this picture of my dog, Khola, I wanted to clearly isolate her nose from the rest of her body, but still preserve the viewer's ability to decipher her eye. Since macro photography results in a limited depth of field, I used a relatively large aperture of f/5.6. As a result, the texture of the dog's nose is exceptionally sharp and contrasts well with her blurred eye.
Small Apertures
Small apertures are typically used to produce a sharp, defined background or to maximize the depth of field in the picture. For instance, generally speaking, when photographing a landscape you will likely want the entire composition to be sharp. Rendering the entire scene sharp preserves the way the human eye views the landscape as well as conveying the sense of beauty and vastness in the scene. In order to achieve complete sharpness in the image, use an aperture of f/16 or smaller. Maximizing depth of field conveys the “story” of the composition.
This image was captured in Navarre, Florida just after sunset. The photograph features quite a bit of depth as the dock leads the viewer all the way towards the horizon line. In order to ensure that the entire dock as well as the buildings along the horizon were in sharp focus, I used an aperture of f/22. This is a stereotypical instance where a small aperture is best suited.
Mid-Range Apertures
Lastly, use mid-range apertures such as f/8 - f/11 when your entire scene is at a similar focused distance. When the scene lacks depth almost all apertures will produce a sharp image. Most lenses are the sharpest between f/8 and f/11, so using one of these apertures will result in the sharpest possible image. Common examples of subjects that lack depth include walls, footprints on the beach, the peak of a mountain, etc. When photographing these types of subjects there isn’t a need to isolate the subject and a small aperture isn’t needed to maximize depth of field since there is so little depth in the image.
This photograph was created along the Pacific Coast Highway at Thornhill Broome Campground in Southern California. Since the photo lacks significant depth with a distinct foreground, middle ground, and background, I used an aperture of f/8.0 to produce the sharpest possible image.